Here's a fun and simple math activity you can do with your students that teaches them how to measure the circumference, diameter, and radius of a circle. Read on to find out more!
This hands-on geometry activity is fun for kids, and it's packed with relevant math concepts. Learning how to measure the diameter, radius, and circumference of a circle doesn't get easier than this!
For this activity, you will need:
First, students will need to find five circular objects they can use for the project. Since you can do this activity at home or in a classroom setting, asking them to find everyday items with a circular shape shouldn't be too difficult. For our circles, we used a paper plate, a coffee K-Cup, a spool of ribbon, and two different-sized tins. Here are a few other ideas: paper cup, mug, water bottle, roll of masking tape, soup can, etc.
Once the students have their five circular objects, they can trace each one onto construction paper and cut them out with a pair of scissors.
Now the measuring begins!
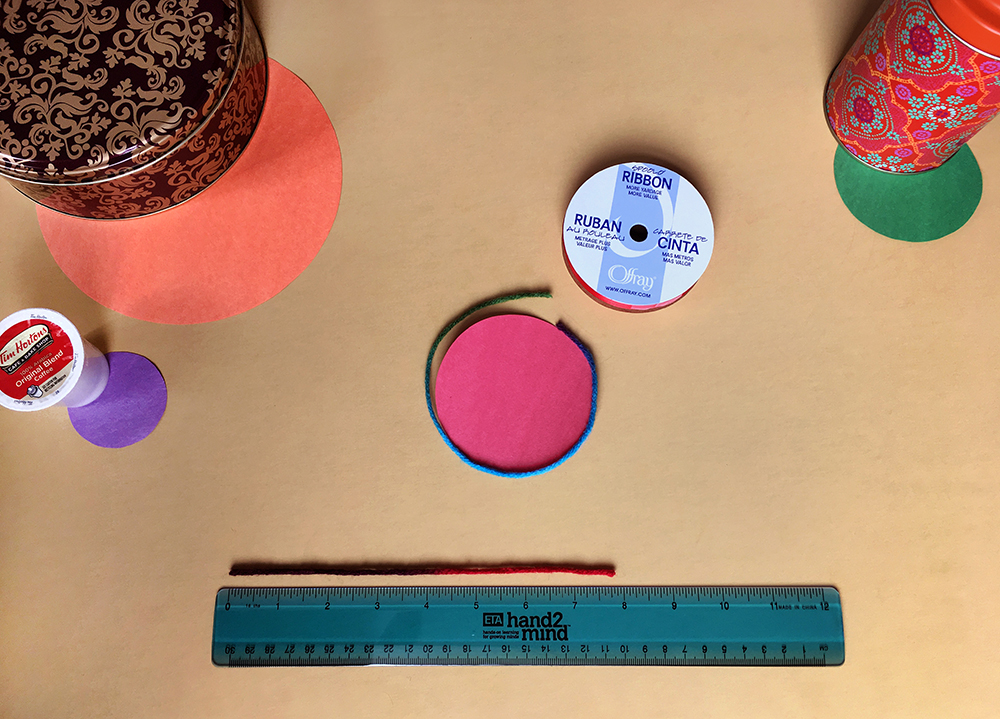
Students can start by measuring the circumference of each circle with a piece of yarn or string. (See photo above.) The students should record their measurements in a notebook. Next, the students can use the ruler to measure the diameter and radius of each circle. Encourage your students to draw a line across the center of the circle to mark the diameter. This will make it easier for them to measure the radius too.
Here are some things to keep in mind when doing this activity:
We love this math activity because it's so simple and adaptable to meet your teaching needs! Do you have less time to spend on an in-class project? Use two or three circles instead of five! Want to skip the hassle of gathering everyday items from around the house or classroom? Print different-sized circles on card stock and pass them out as tracing circles instead! There is no right or wrong way to do this activity.
If you use this fun geometry activity to teach circumference, radius, and diameter in your classroom, let us know how it goes! Drop us a line in the comment section below.
Looking for more resources for teaching circumference, radius, and diameter to elementary-aged students? Check out the Circles: Radius, Diameter, Circumference, Area page on Super Teacher Worksheets!
You may also like: