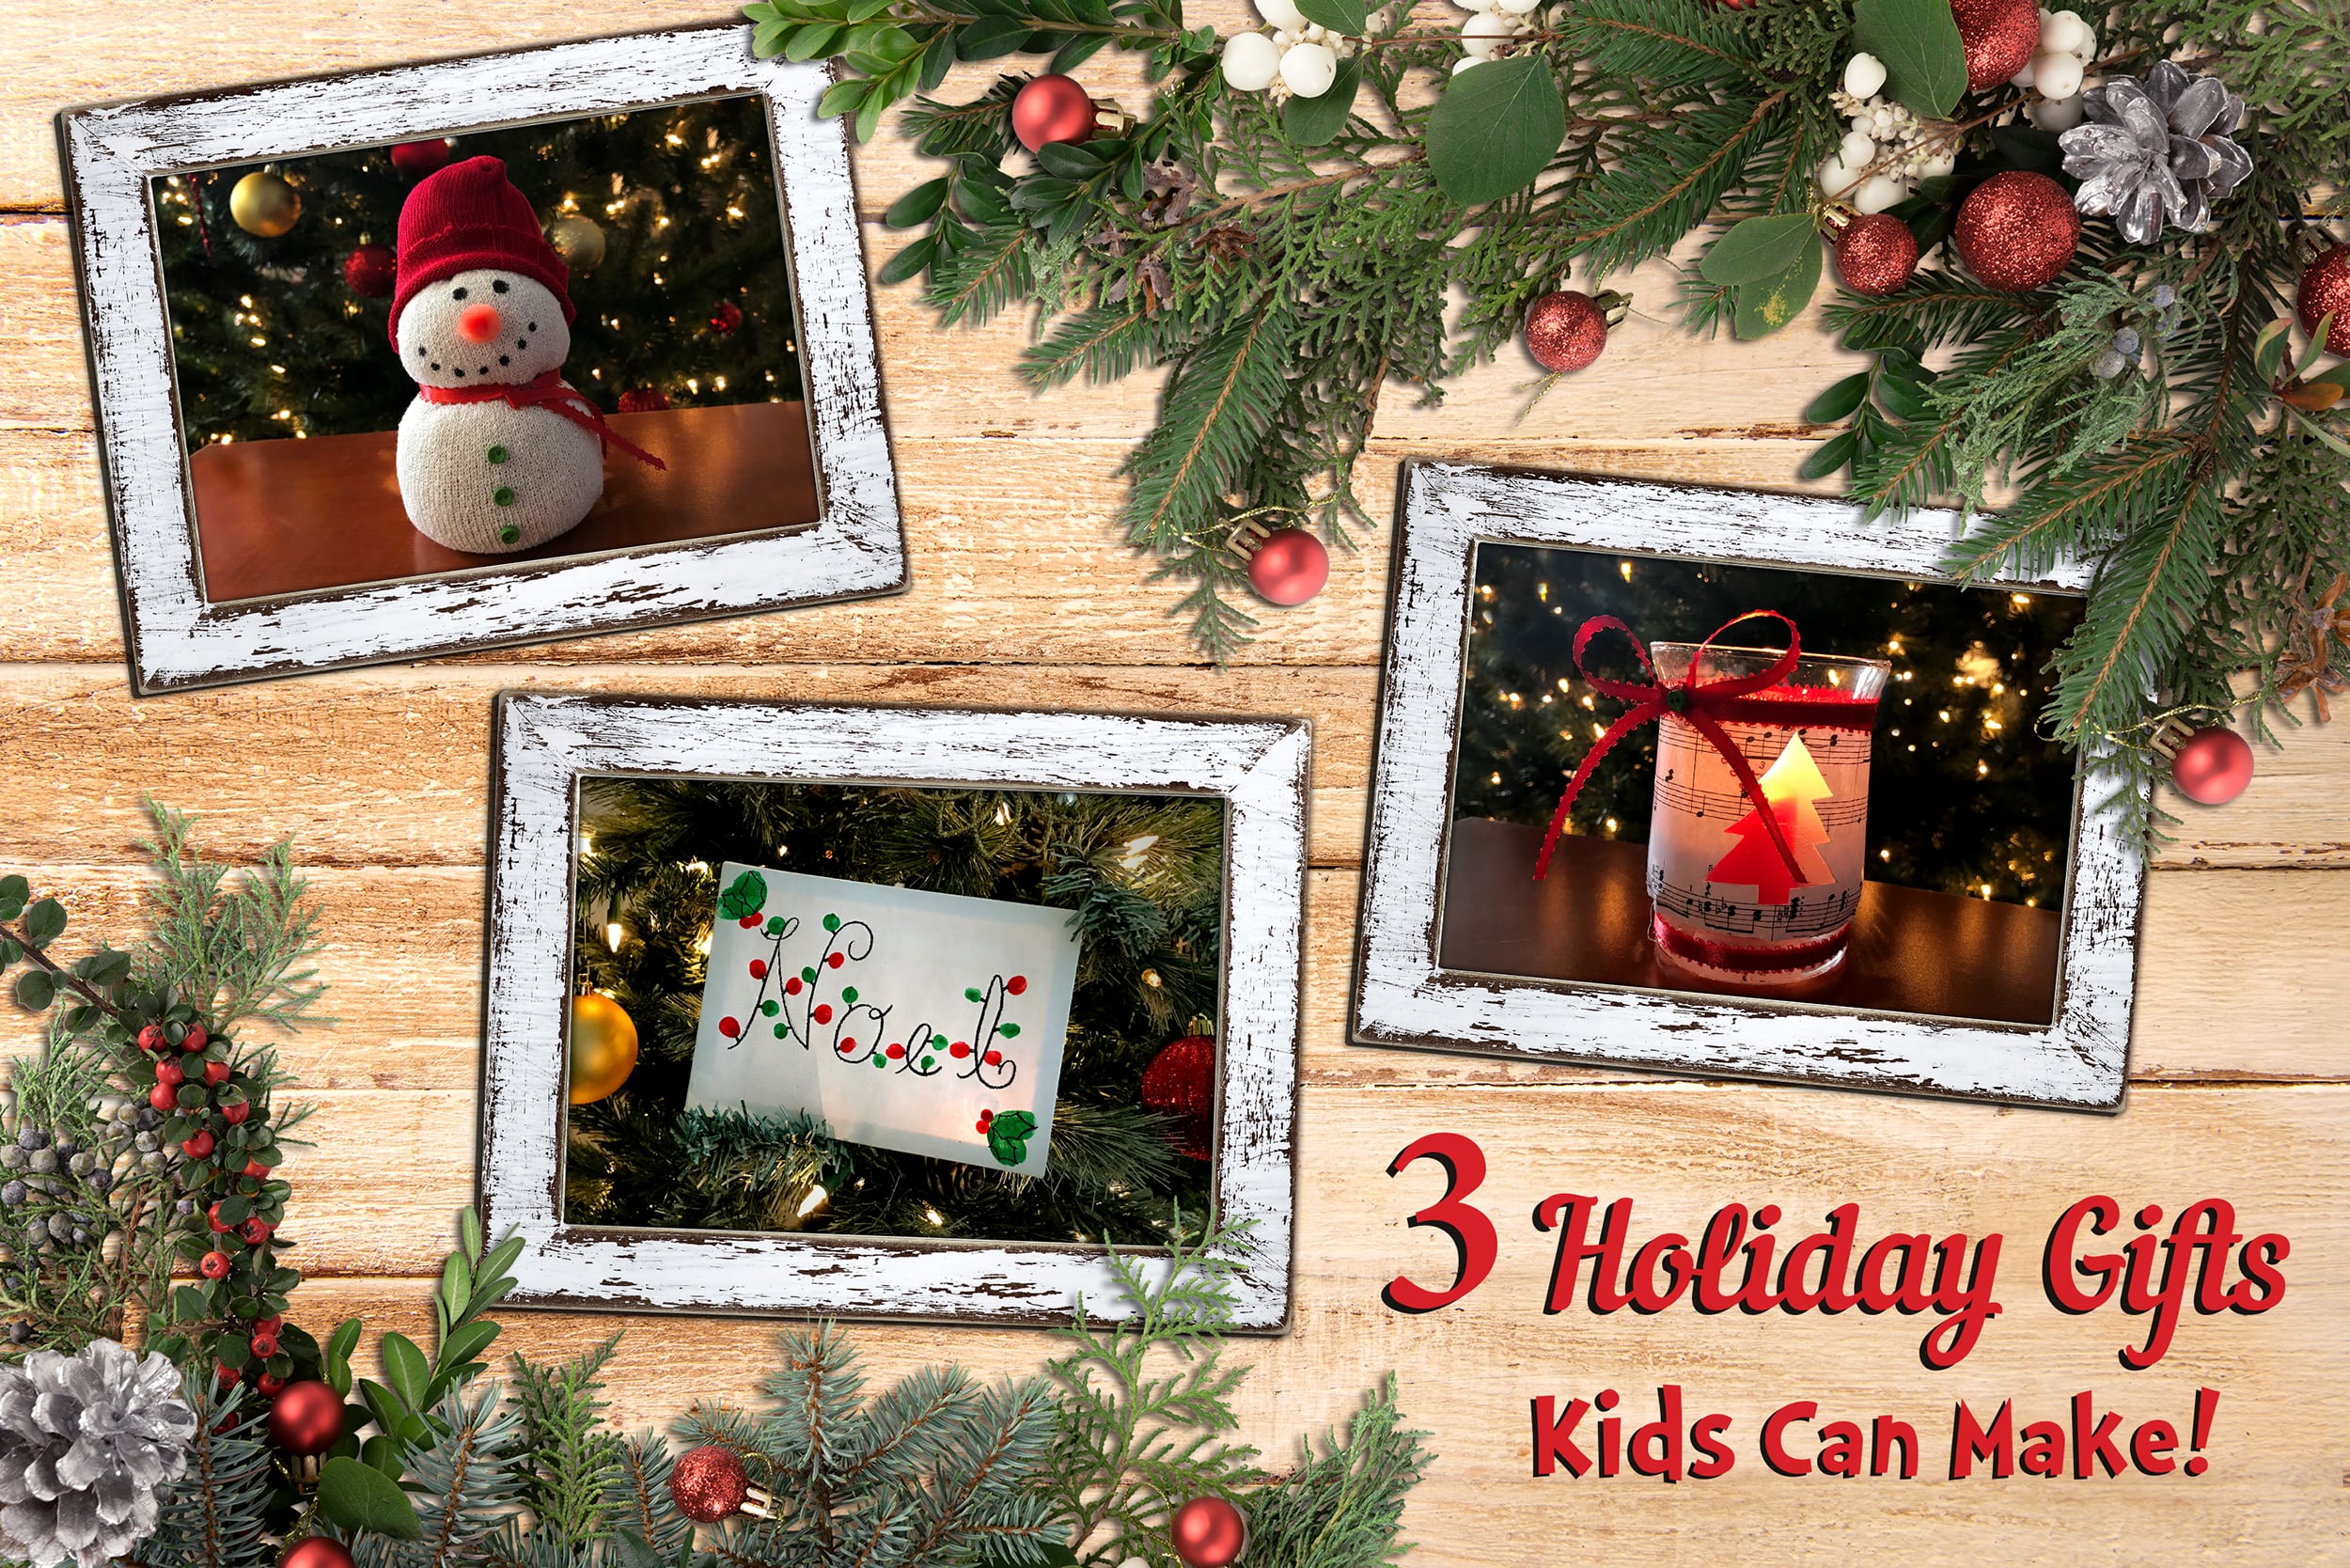
'Tis the season for giving gifts! Help your students get into the holiday spirit with three adorable crafts they can make for their parents and loved ones. Read on to find out how to make fun, festive gifts for the holidays!
We had so much fun making these kid-friendly Christmas crafts! Each one has a different level of difficulty, so you can choose which one is best suited for your students' age and ability level. These DIY Christmas gifts leave plenty of room for creativity, so your students can personalize them especially for their loved ones! Now let's get crafting!

This craft is perfect for very young children. If you're a preschool or kindergarten teacher, this activity is a great option for your class! Here's what you'll need:
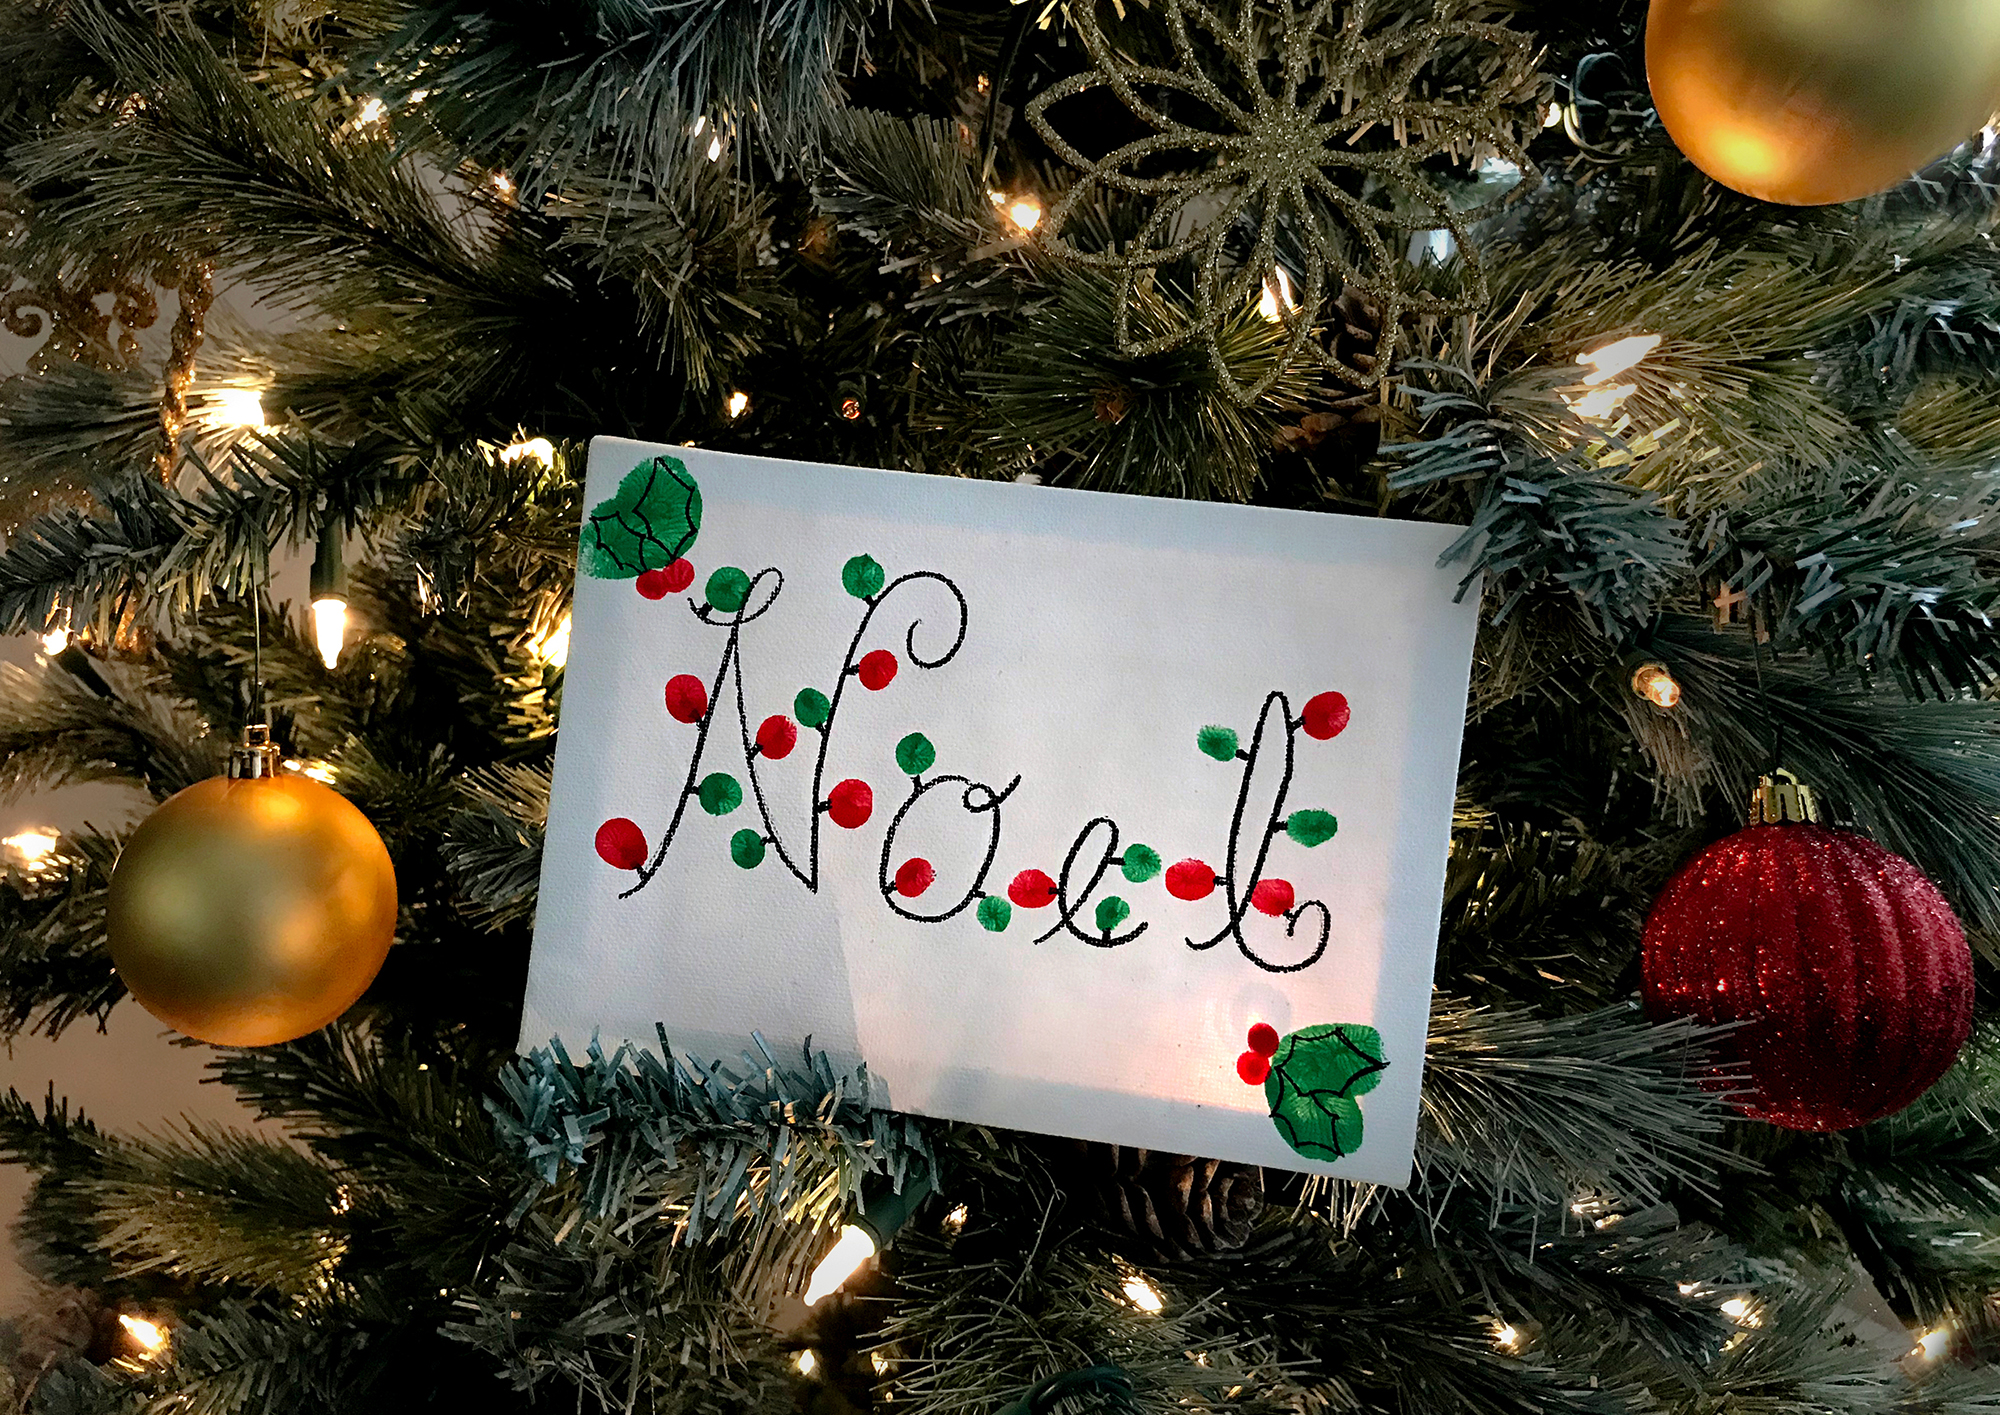
Using a black marker, write a holiday word on each canvas for your students. Some ideas are "Noel," "Peace," "Joy," and "Love."
Each child will use his or her fingerprints dipped in washable paint to decorate their holiday word with festive "lights."
Add some optional holly berries to the corners of the canvas by using green paint on the children's thumbs to create leaves from the thumbprints. Dip the eraser-tip of a pencil in red paint to make the berries.
When the paint has completely dried, you can help your students draw the outline of the holly leaves with the black marker.

This activity is great for children who are able to work more independently. You may want to consider doing this one with your first, second, third, or even fourth graders. You'll need a few items to get started.
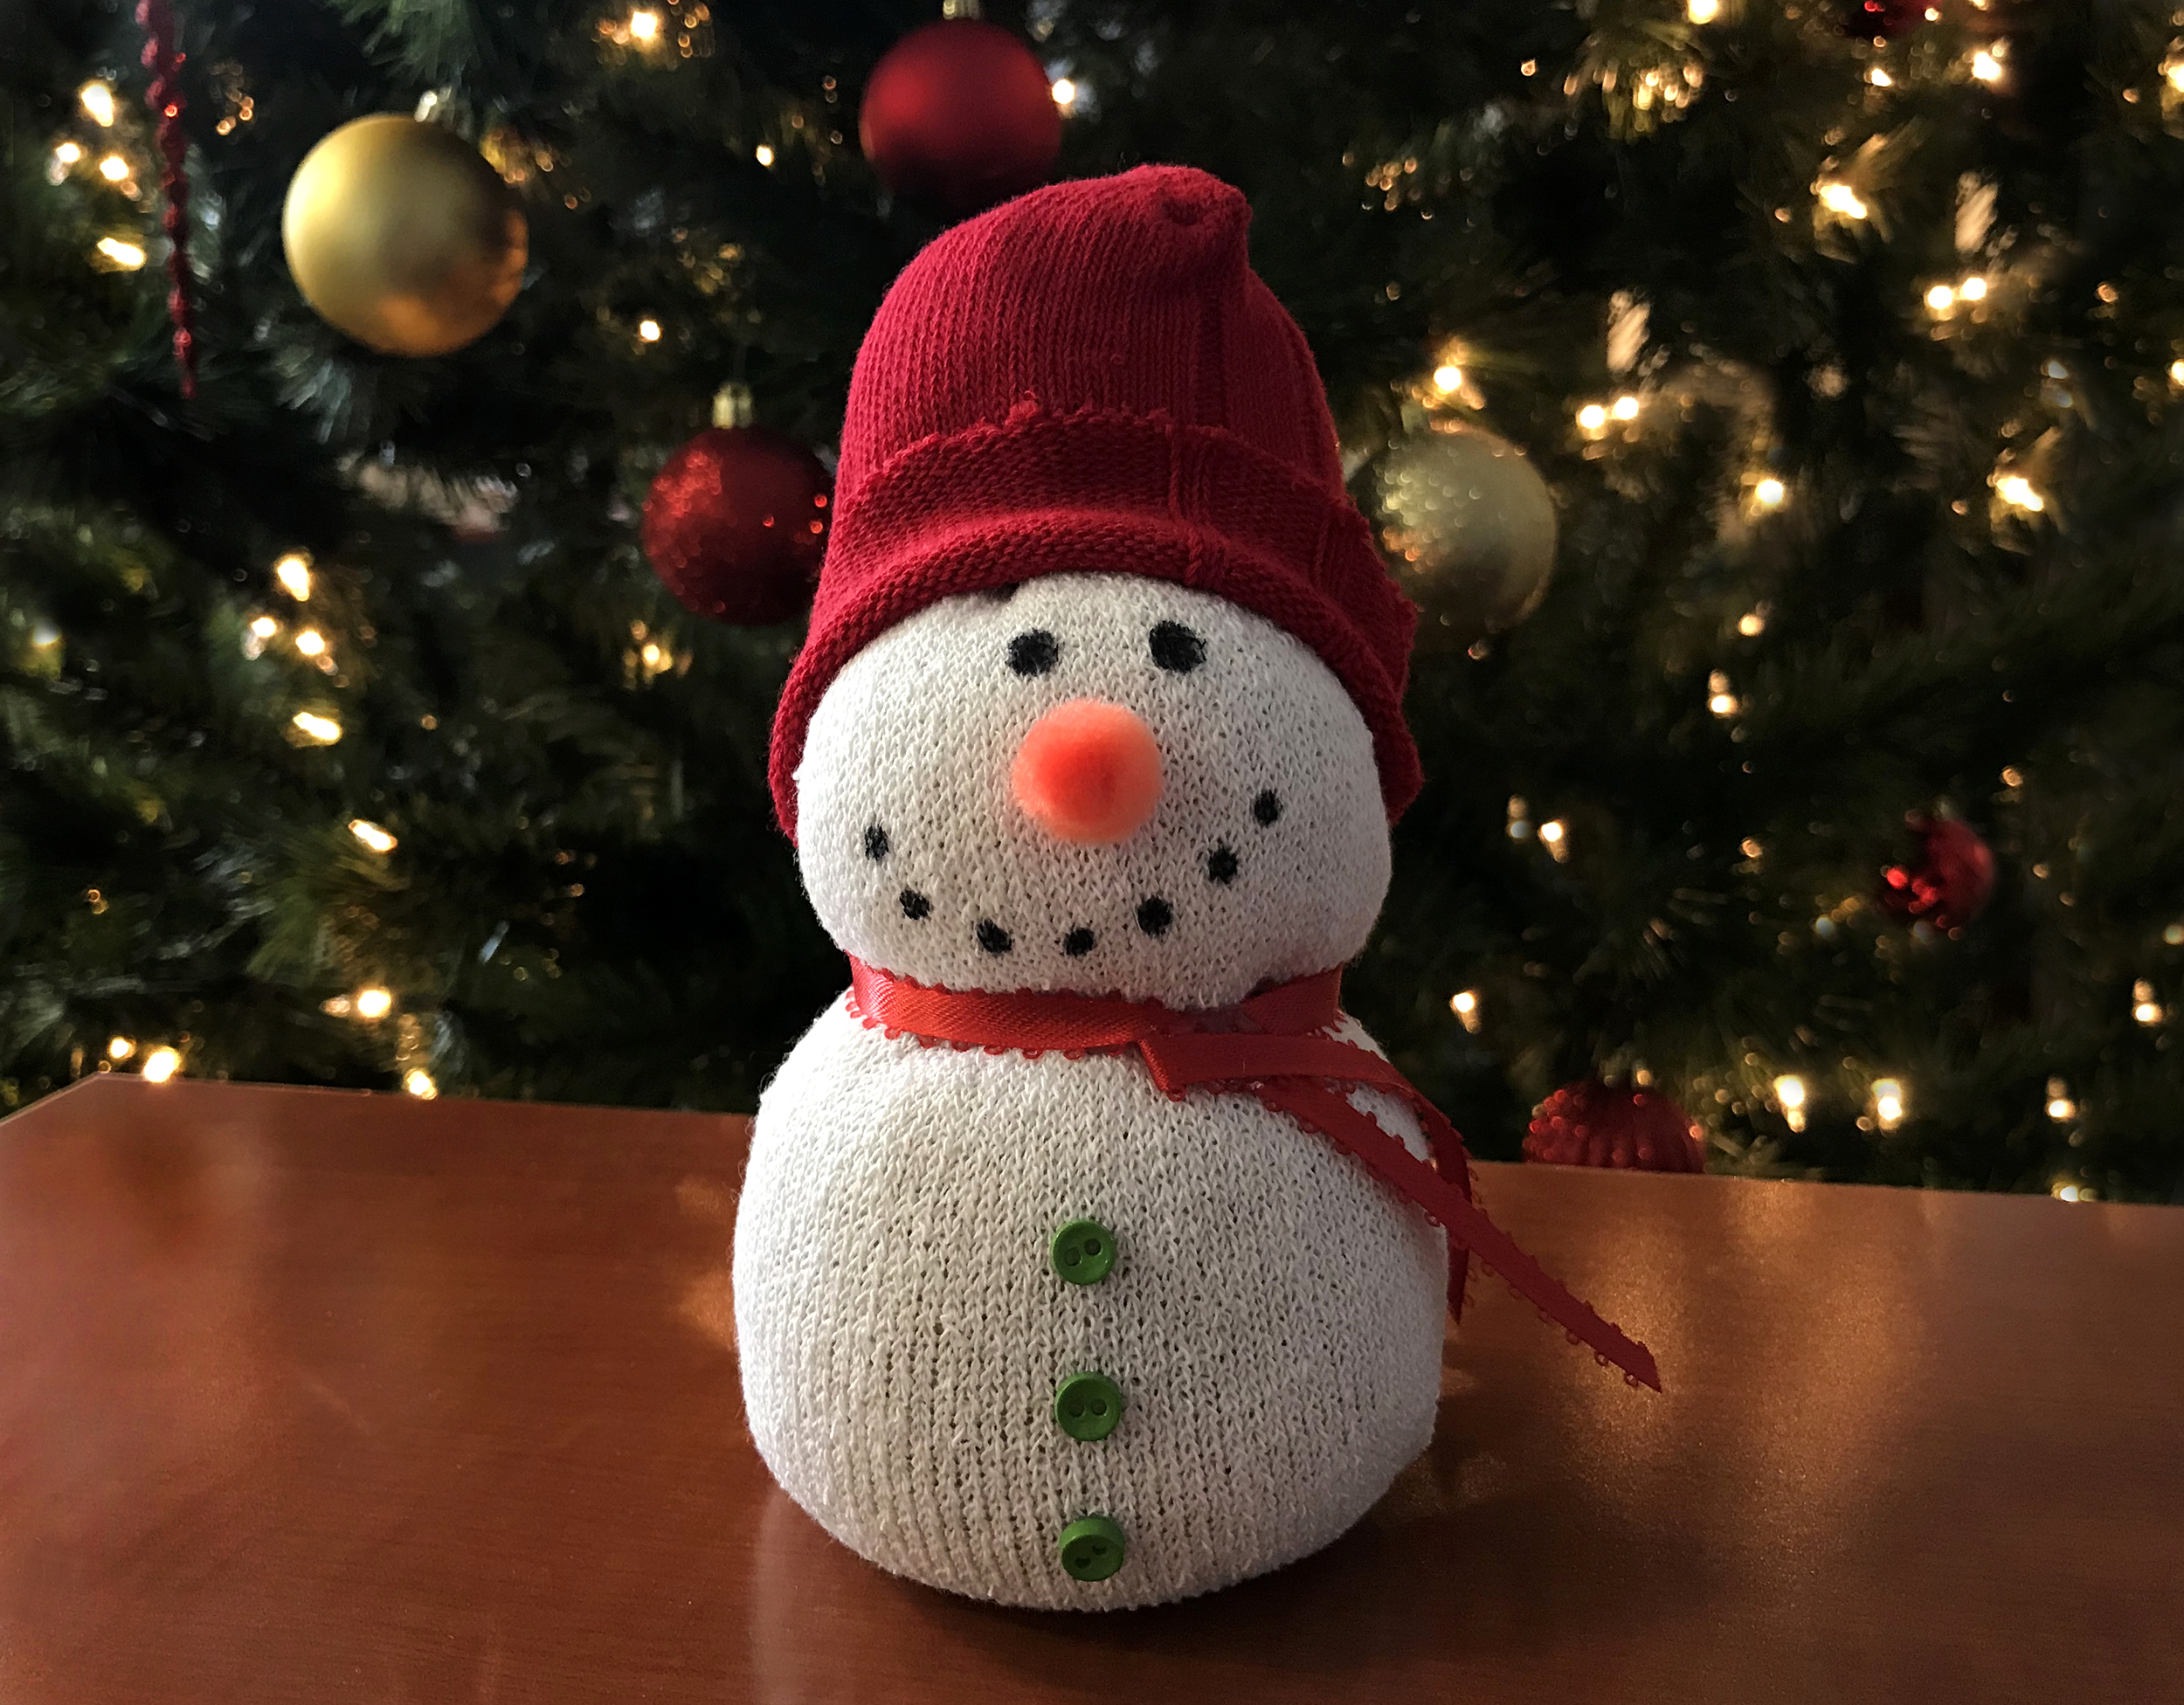
To make the body of your snowman, partially fill the white sock with rice. Once you have a bulge the size of a tennis ball, you can tie off that section with a rubber band. Be prepared to help the children with pouring the rice into the sock and tying off the rubber band.
Repeat the first step, making a smaller bulge for the snowman's head. Once you tie off this section, you will have some fabric left where the sock opens. You can leave that the way it is.
Now you can add eyes and a mouth with the black marker.
The next steps require the use of a hot glue gun. We always recommend that a teacher or another adult handles the hot glue gun at all times.
Using the hot glue gun, add an orange pom pom for the carrot nose and some ribbon for the snowman's scarf. Also add three buttons to the snowman's body.
For the last step, use scissors to cut off the bottom half of the colored sock and pull it over the top of the snowman's head to make a hat. Flip up the edge to create a rim. You can add a couple dots of hot glue underneath to keep the snowman's hat in place.

This project is ideal for older students who can handle more complex instructions. Maybe you'll try this one out with your fourth, fifth, or sixth grade students. Gather up the following materials for your Christmas candle craft:
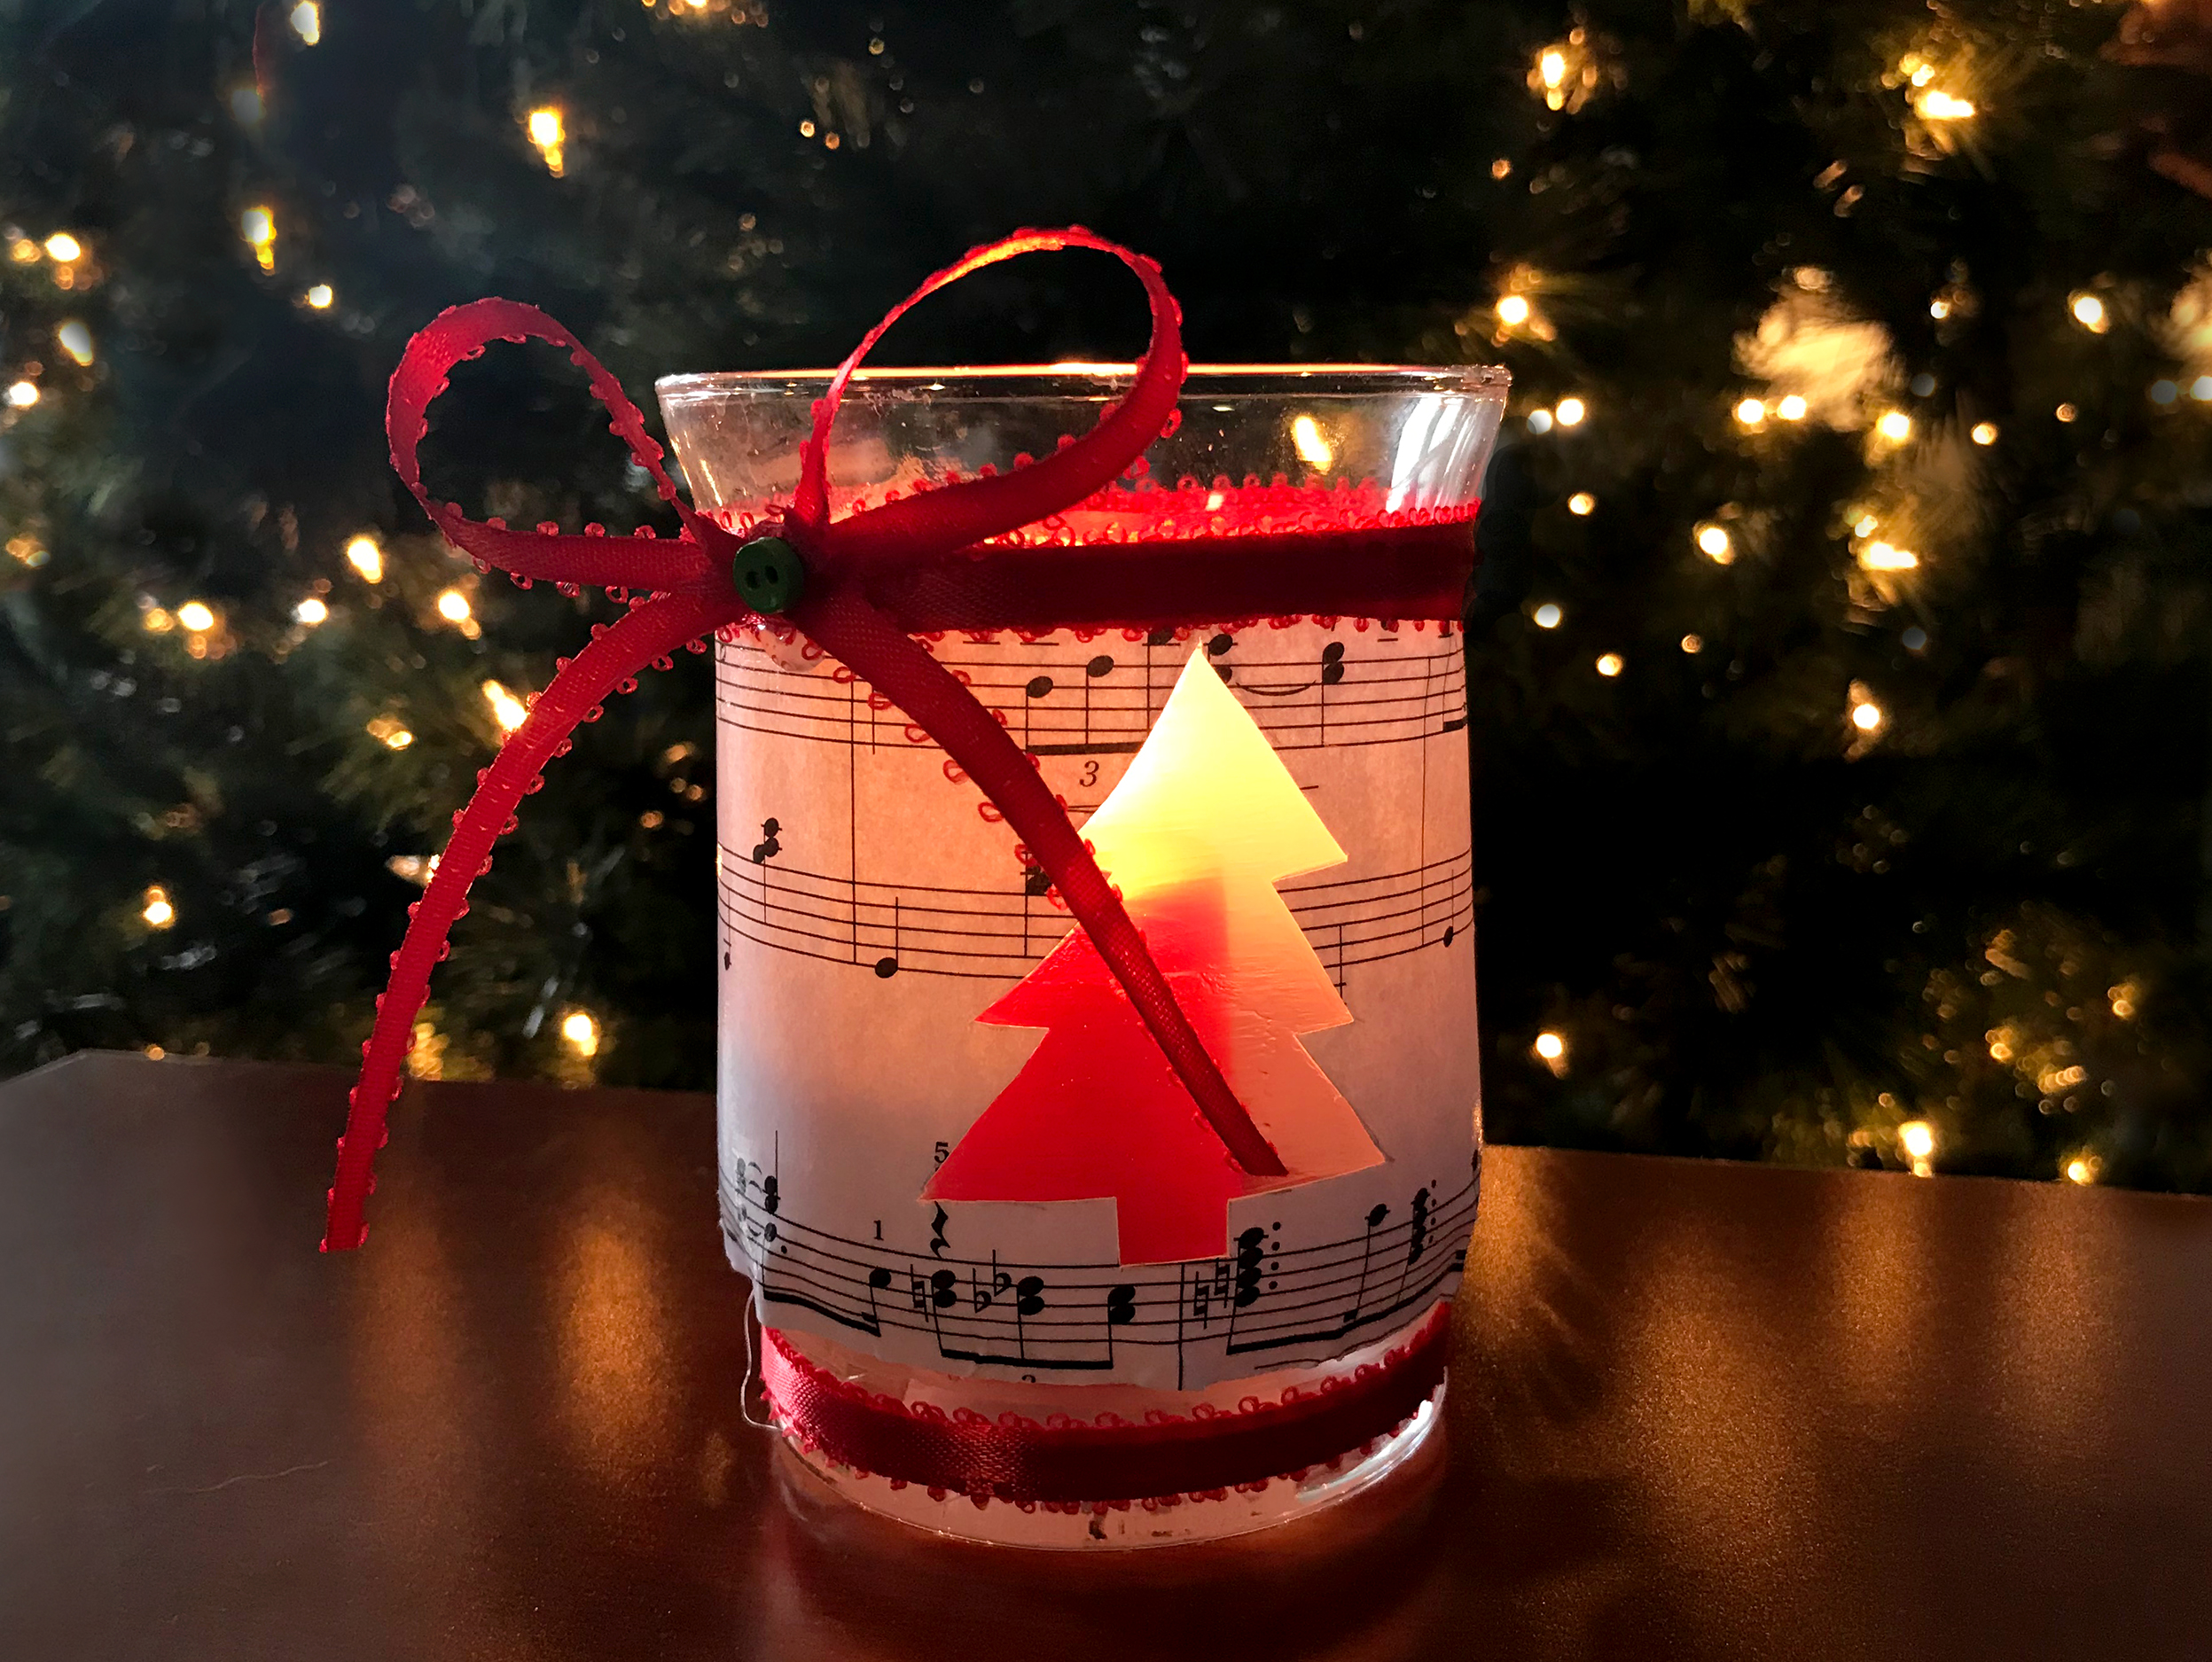
The first thing you'll want to do is cut out a strip of sheet music to wrap around your candle. (You may need to cut out a little extra to cover up the back.)
Next, use a pencil to draw a small Christmas shape on the strip of sheet music. We chose a Christmas tree, but you could make other shapes, like a heart, a bell, or a gingerbread man. Cut out this shape.
Now you'll wrap the sheet music around the candle and, using a paint brush, coat the sheet music with Mod Podge to adhere it to the glass. This may take a few layers of Mod Podge. Let it dry before you move on to the next step.
Add a dot of hot glue to the top of the candle and fasten a length of ribbon to it. Wrap the ribbon several times around the candle and secure is with a second dot of hot glue.
Tie a bow and affix it to the ribbon with another dollop of glue. You can add a button in the center of the bow for extra flair if you want.
Add ribbon the same way to the bottom of the candle, without the bow. That's all there is to it!
No matter which holiday craft you and your students do together, you'll love how these handmade Christmas gifts turn out. So will the loved ones who get them!
Now we want to hear from you, teacher friends! What are your favorite holiday crafts or handmade Christmas gifts to make with your students? Please leave your feedback for us in the comment section below!
If you're looking for more exciting holiday resources, please visit the Super Teacher Worksheets Christmas page! You'll find tons of crafts, puzzles, games, math practice worksheets, reading comprehension files, writing activities, and much more!
You may also like: