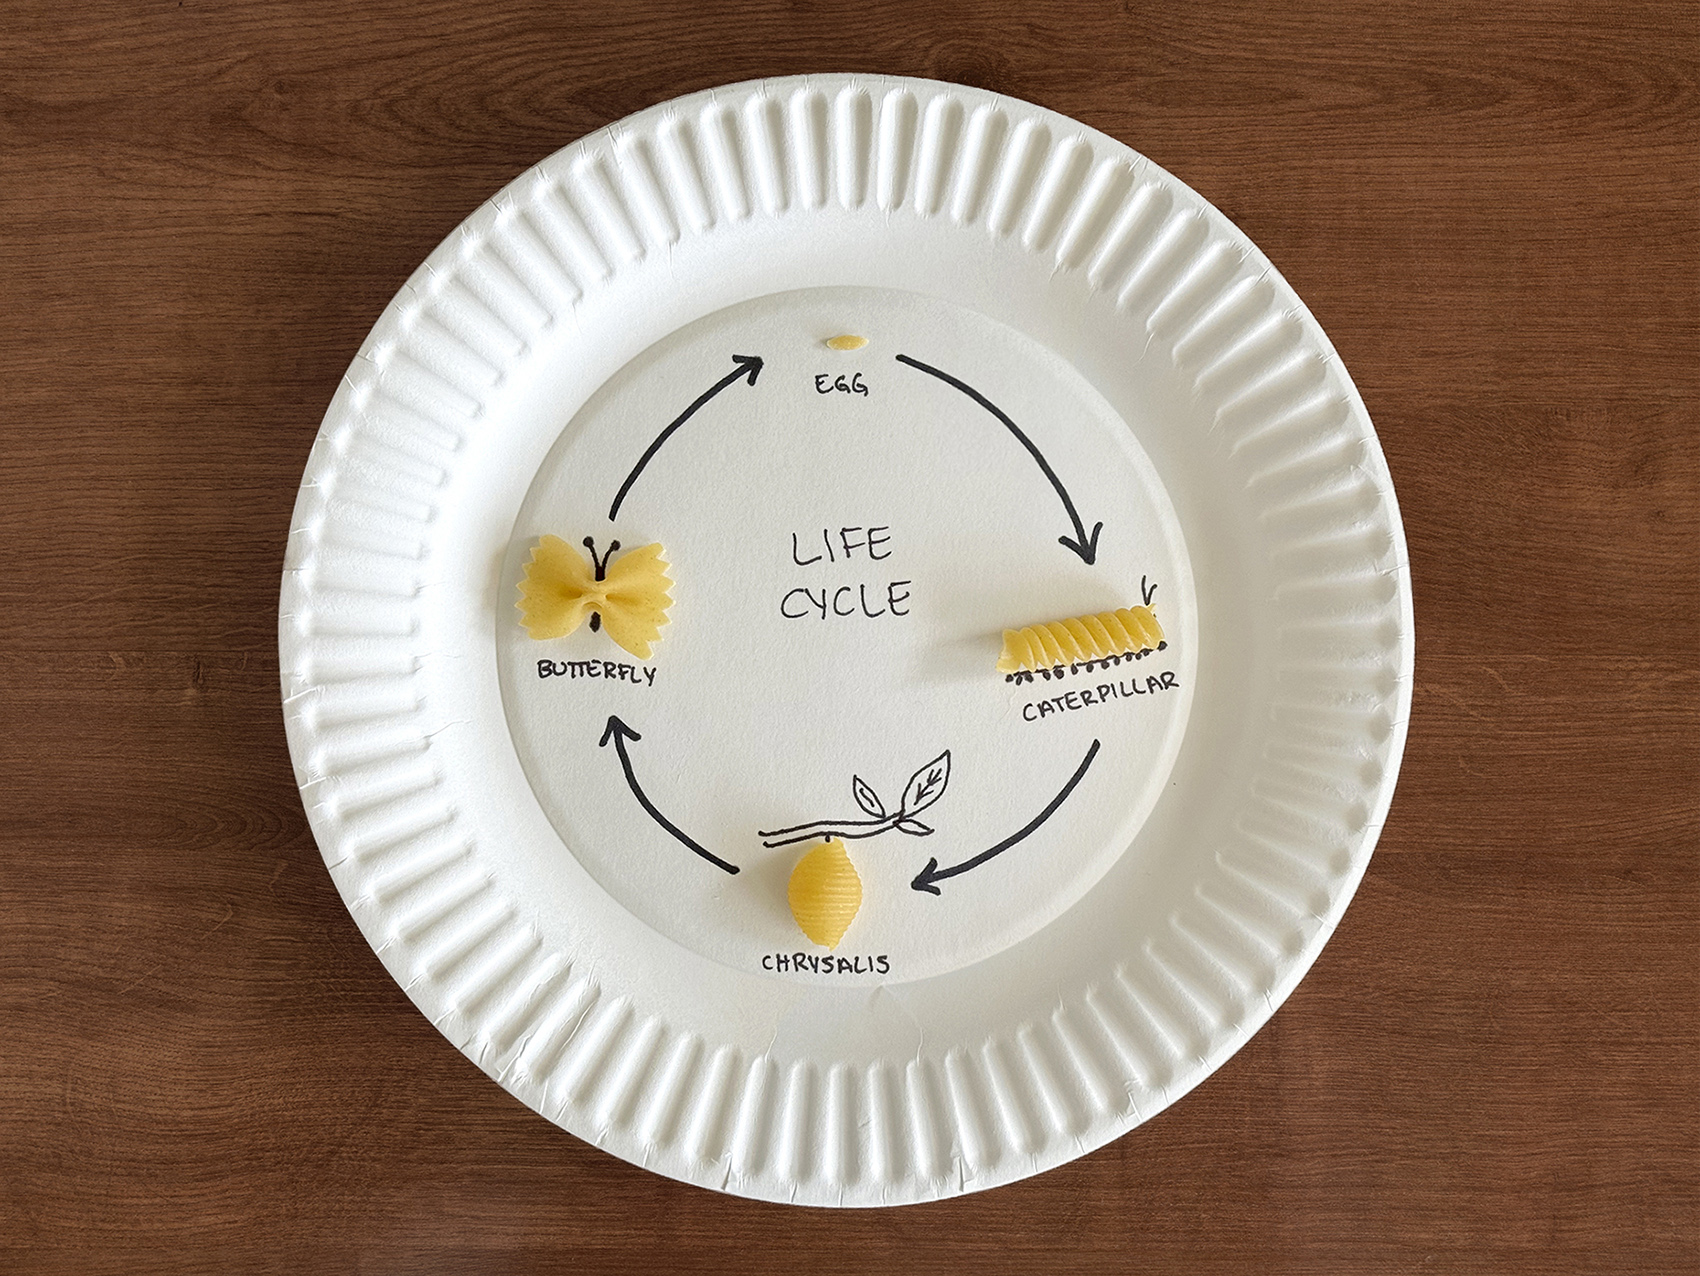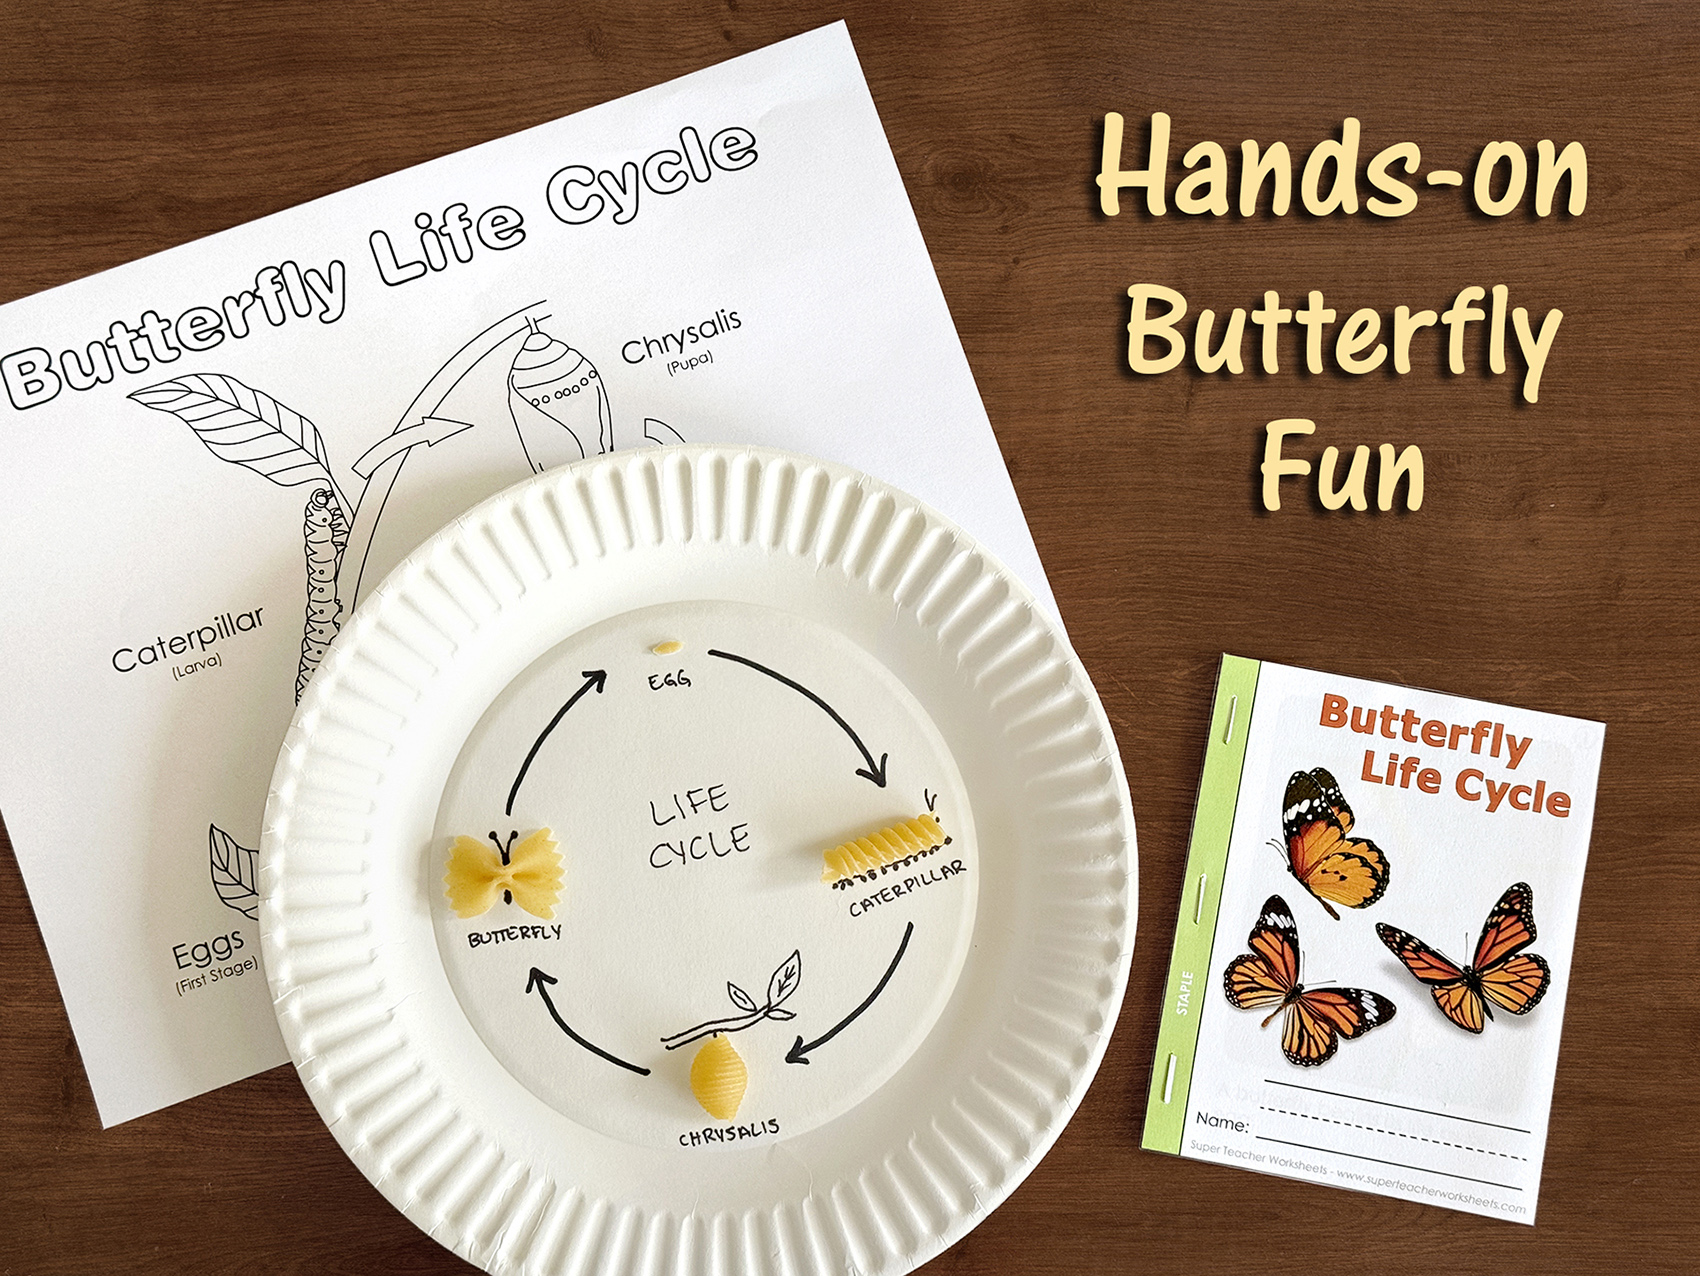
May is the perfect time of year to study the life cycle of butterflies! As we dive into the fascinating world of butterflies, it's exciting to think about creative and hands-on ways to bring science to life. One of the best ways to get kids excited about science is by combining the visual and the tactile. Check out this fun activity that explores the four stages of a butterfly’s life cycle using pasta as a fun, tactile learning tool.
Materials:
paper plates
markers
glue
small ziplock baggies
assortment of pasta in different shapes (orzo or ditalini, shells, rotini or fusilli, bowtie)
Step 1: Preparation
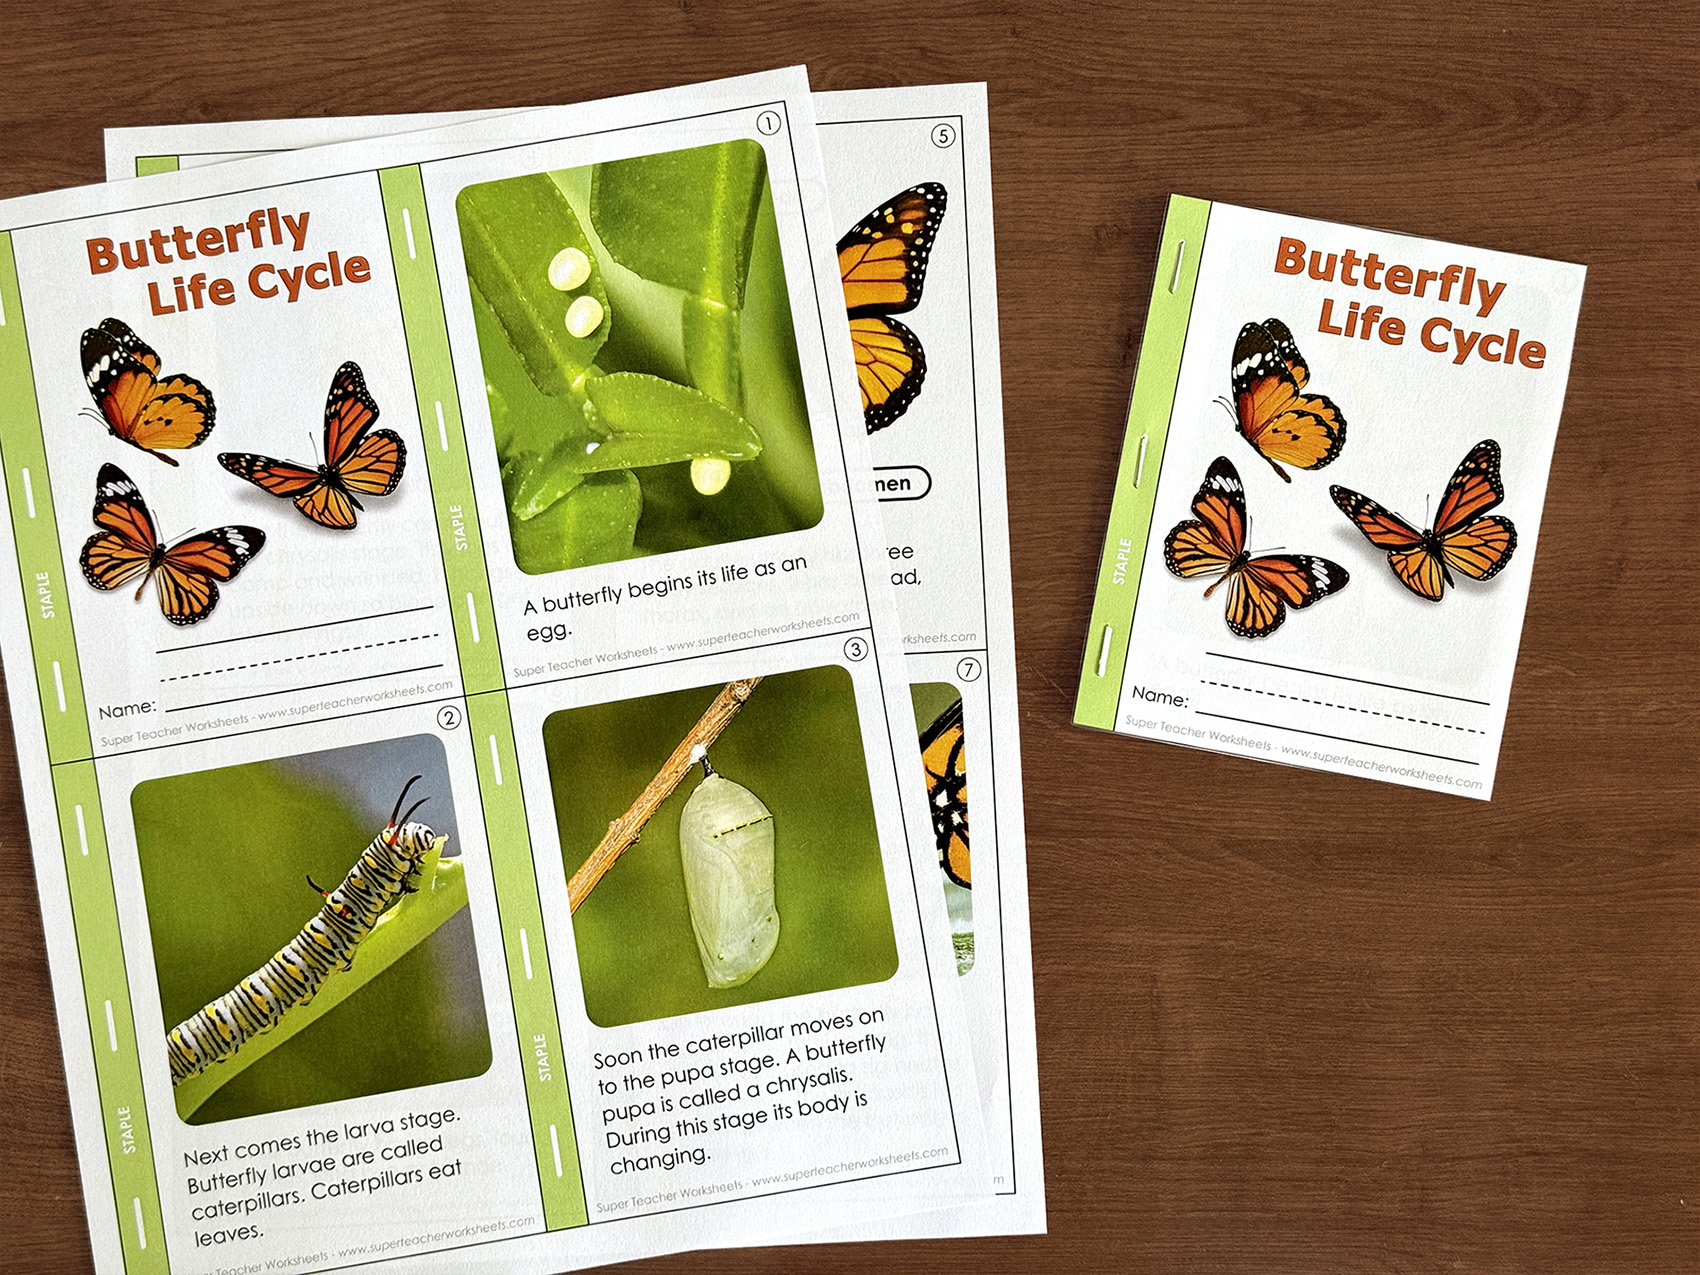
This hands-on life cycle lesson does require a little bit of prep work to help the activity go smoothly. First, print enough copies of the Butterfly Life Cycle Mini Book. Cut, arrange, and staple the pages to make a mini book for each student.
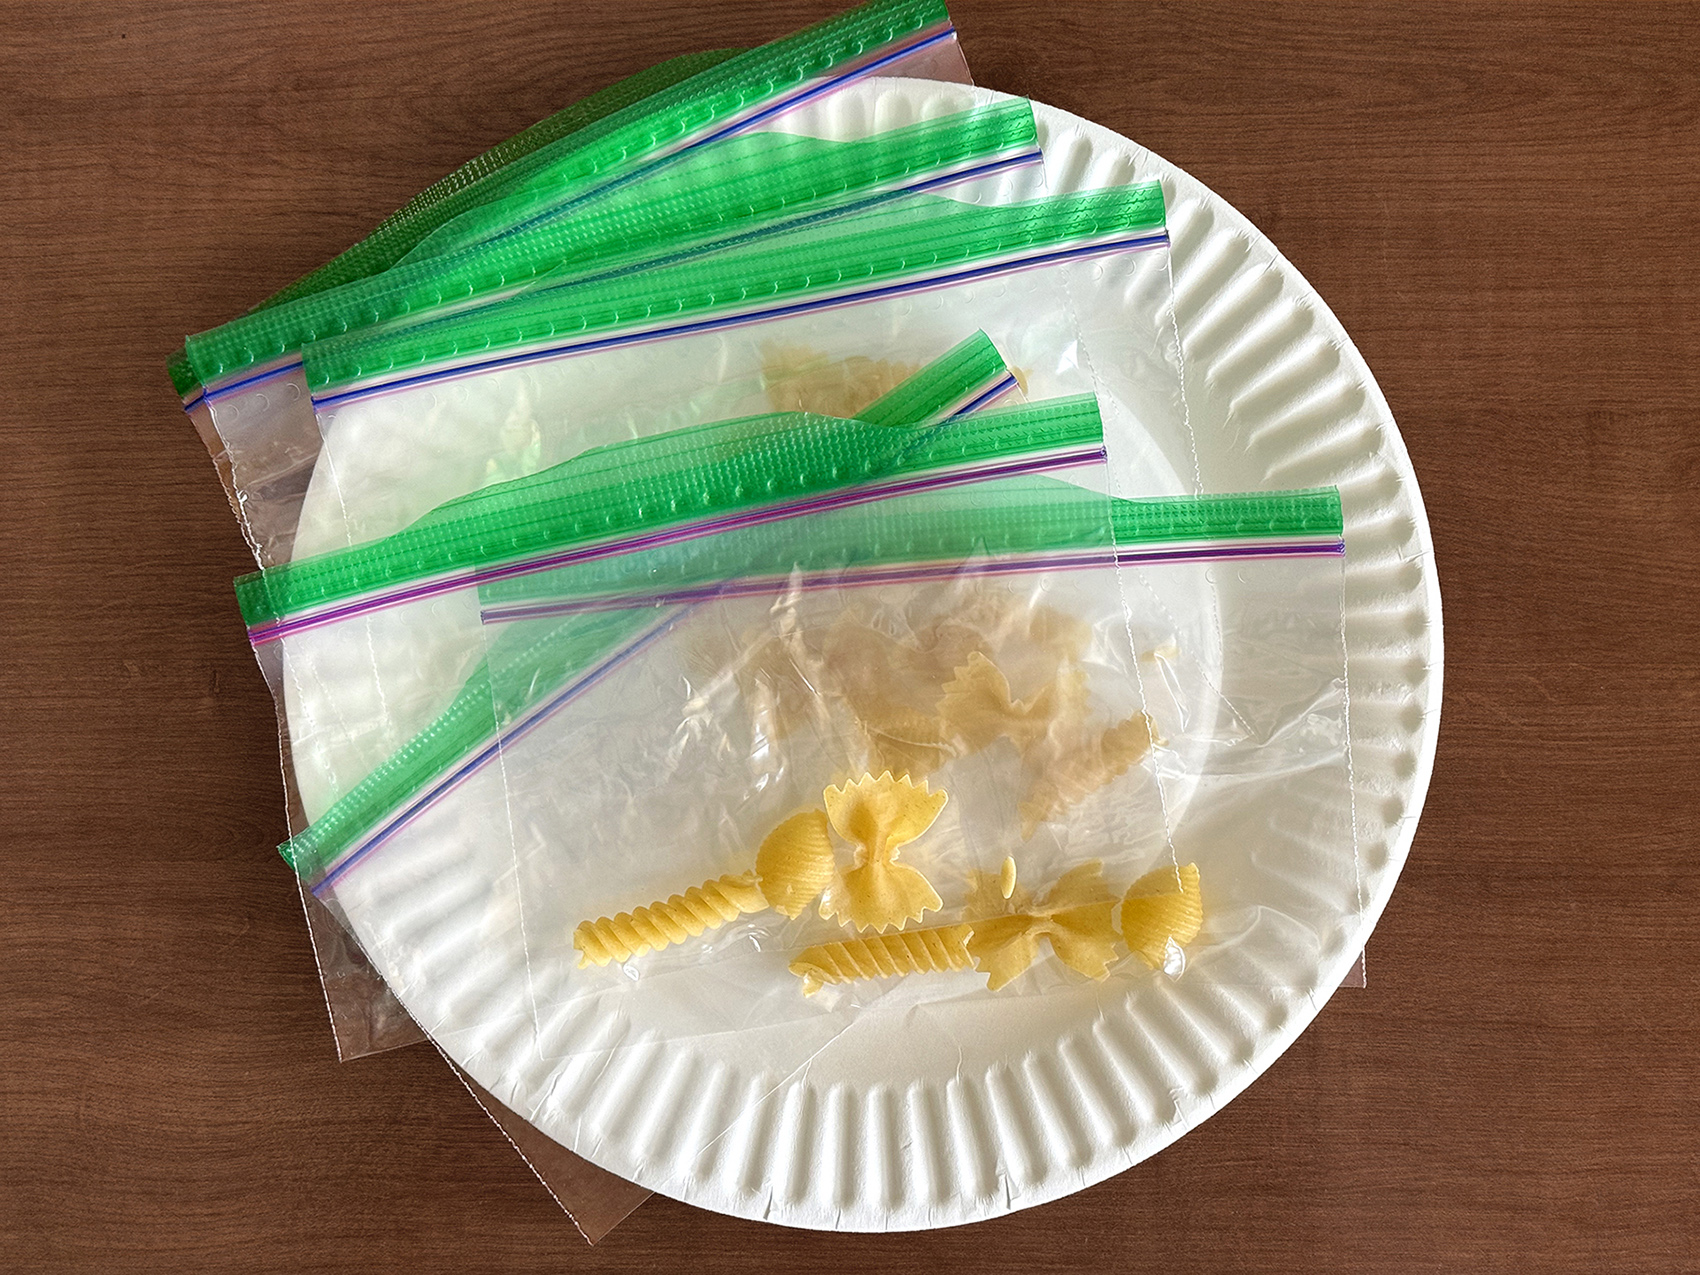
Next, put one of each pasta type into a baggie for each student. We recommend using orzo for the egg, rotini for the caterpillar, shells for the chrysalis, and bowtie for the butterfly.
Step 2: The Four Stages of the Life Cycle of a Butterfly
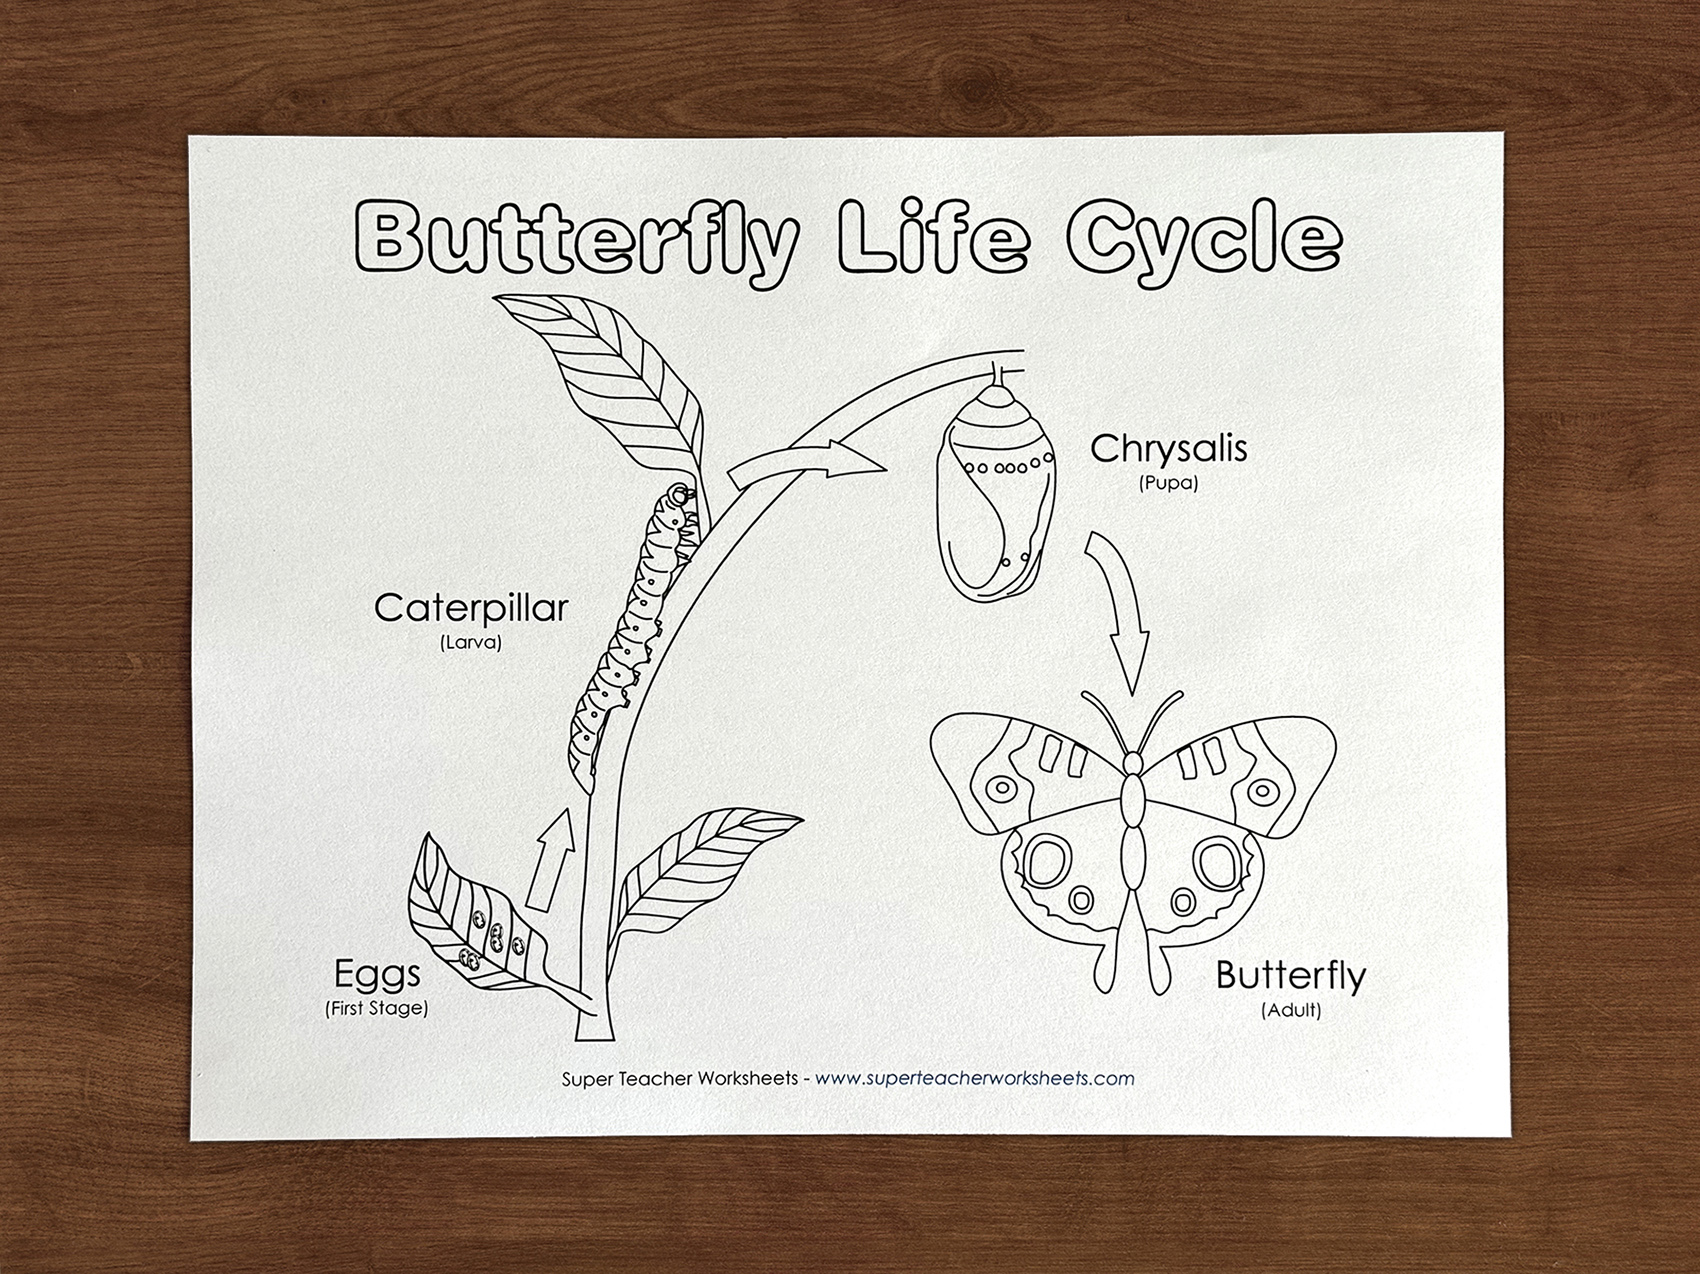
The life cycle of a butterfly is a perfect science topic for young learners. It's easy to observe, and the stages of transformation (egg, larva, pupa, and adult) provide a fantastic opportunity for students to explore the concepts of growth, change, and development. Understanding how an egg becomes a butterfly helps students not only connect with nature but also develop key scientific skills like observation, sequencing, and reasoning.
You can give students their own copy of the Butterfly Life Cycle Mini Book. Read through the book as a class and discuss the different different stages. This book has clear, detailed pictures that perfectly illustrate each step of the life cycle. You can also display the Butterfly Life Cycle Poster for students to see. Or, each student can receive their own copy to keep in their science notebook or folder.
Step 3: Tactile Life Cycle Activity
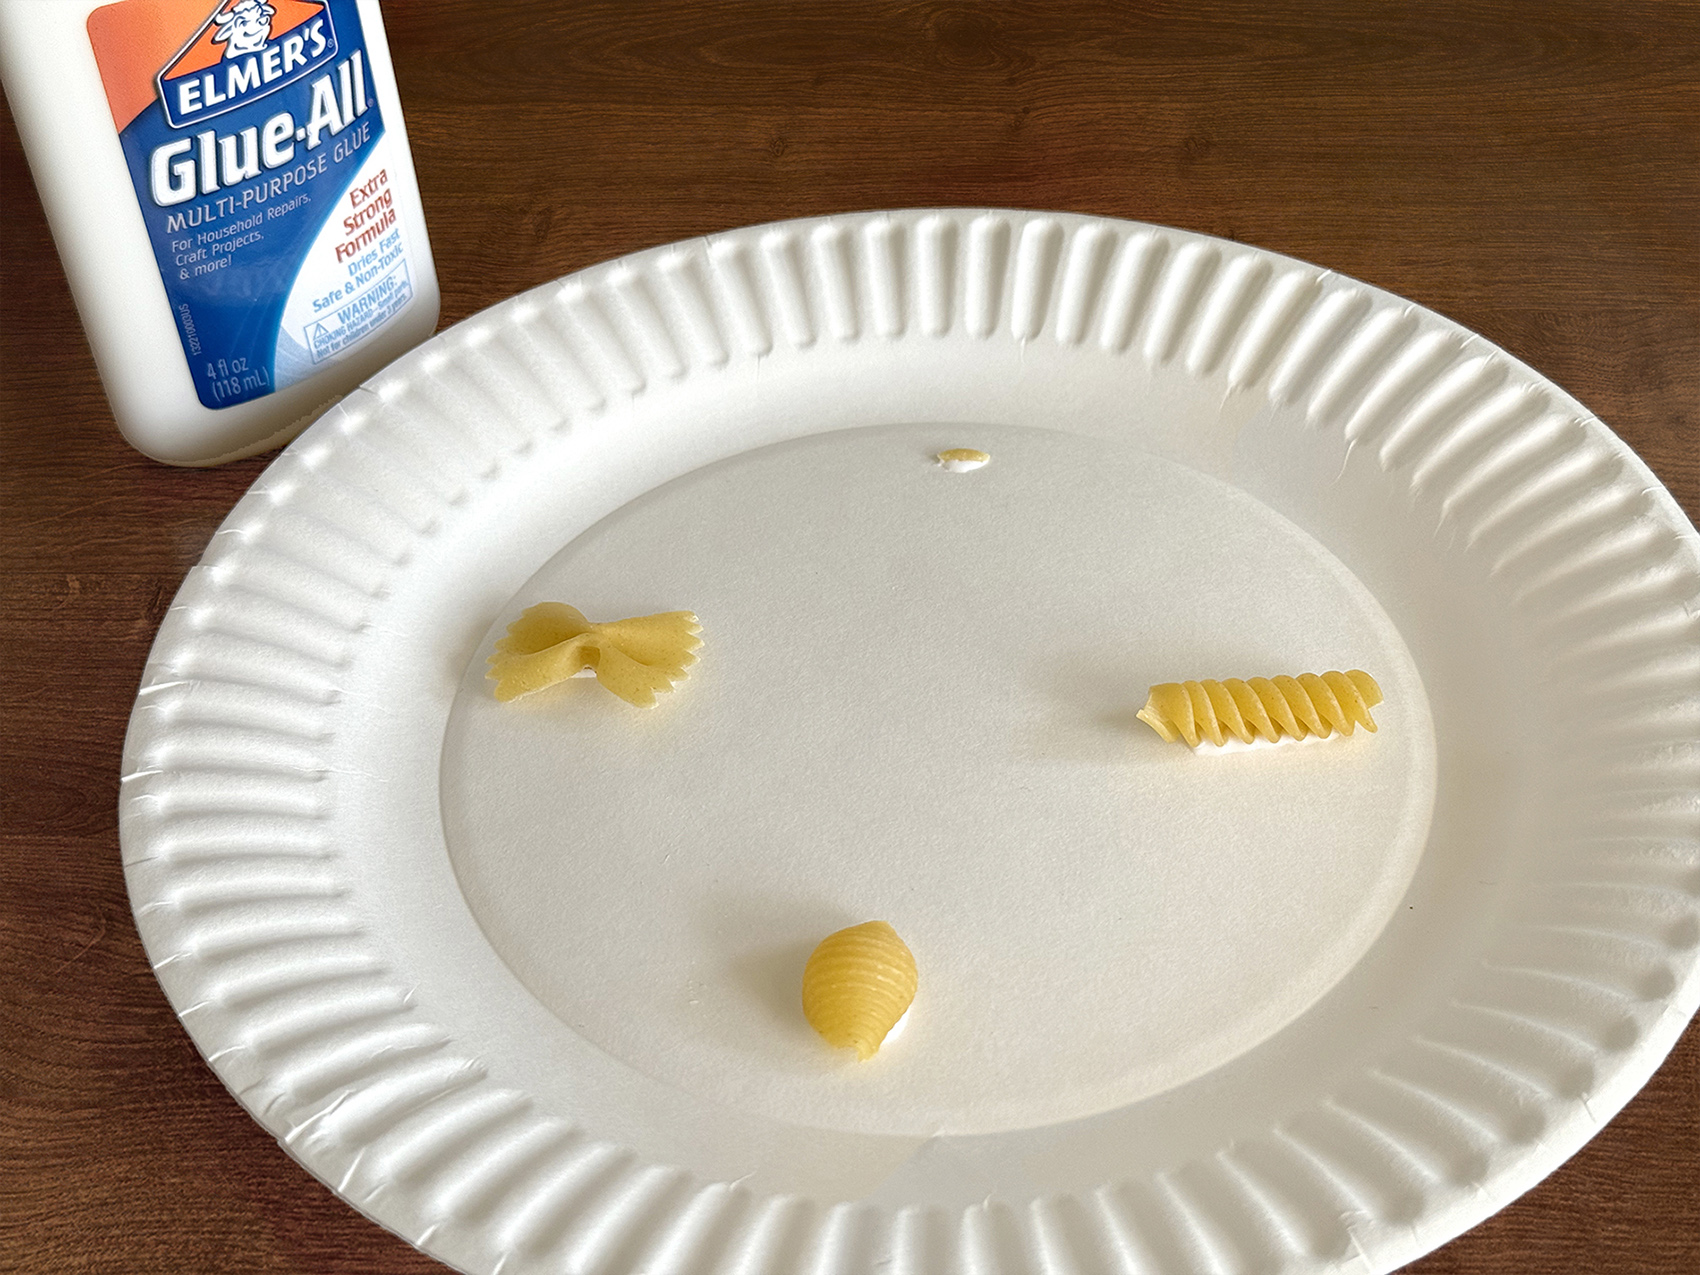
Give each student a paper plate and a baggie with the four different types of pasta. Have students dump the pasta onto the plate. Encourage students to discuss with each other which pasta type they think best represents each step. This discussion will allow students to apply their knowledge of the butterfly life cycle as they think critically about how they can represent each step.
Next, have students arrange the pasta in a circular pattern on the plate in the correct order of the life cycle. Students can glue the pasta down and then use a marker to label each stage. Finally, students can enjoy decorating their life cycle plates. They can even decorate the pasta to look more like an egg, a caterpillar, a chrysalis, and a butterfly.
Teaching the butterfly life cycle doesn’t have to be all about books and diagrams—adding this interactive pasta activity will bring this topic to life for your learners! The hands-on approach of using pasta to represent each stage will help your students not only understand but also remember the fascinating transformation that butterflies go through. So, get your pasta ready and let the learning begin!
For more butterfly related activities check out this page on Super Teacher Worksheets!
