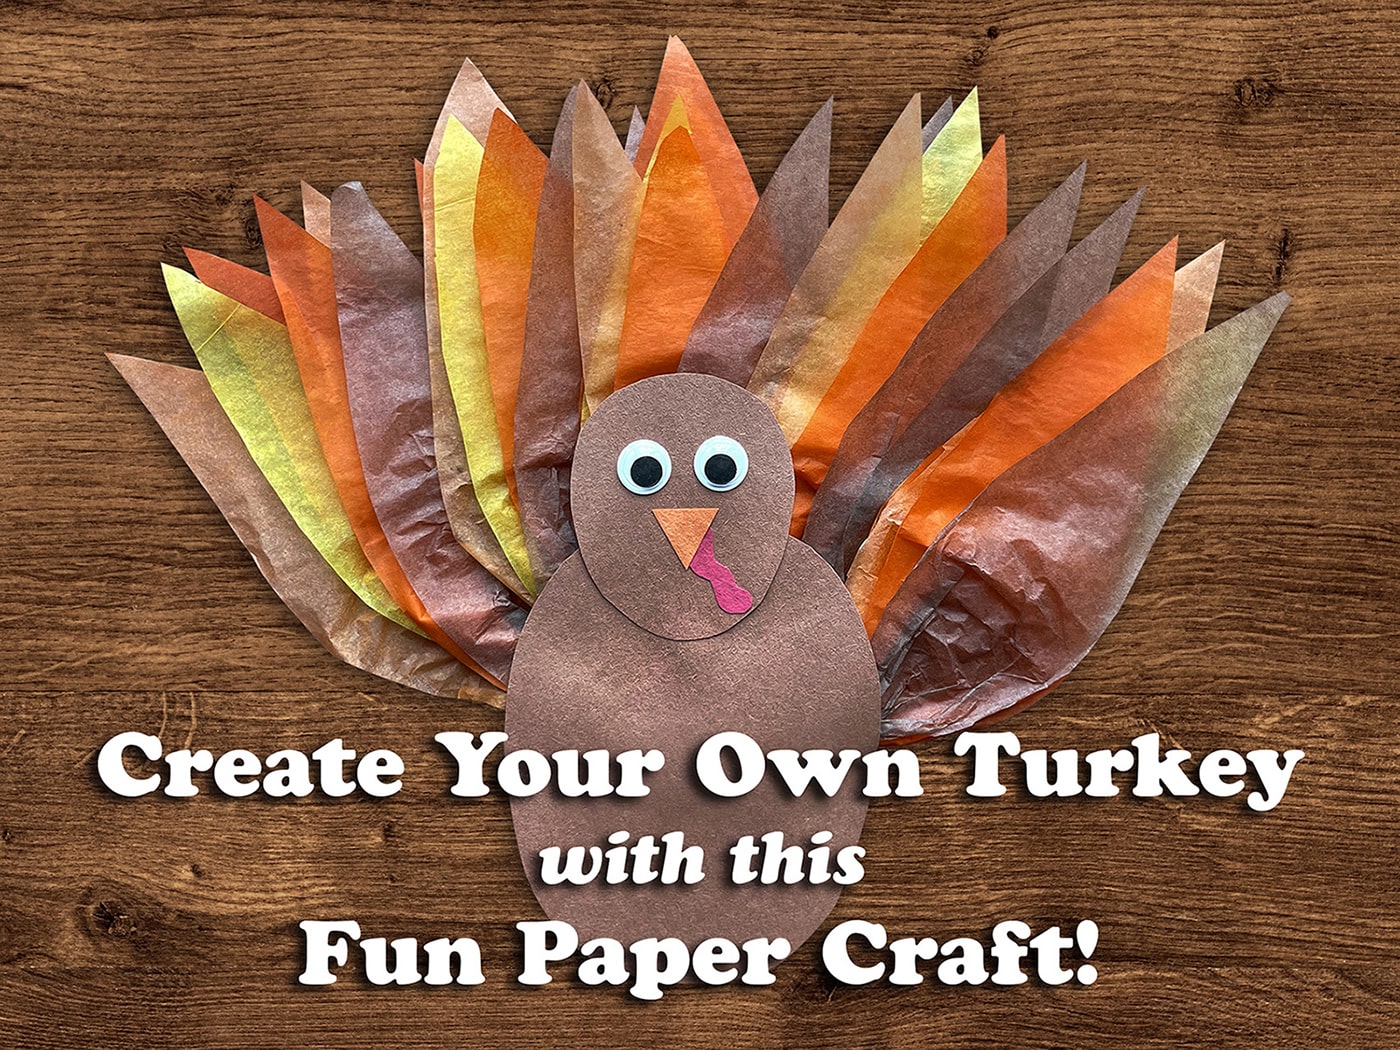
Hey, teachers! It's November, and you know what that means—it's turkey time! How about hosting a super fun "Turkey Craft Day" to get your students into the Thanksgiving spirit? Let's dive into this step-by-step guide for making adorable paper turkeys!
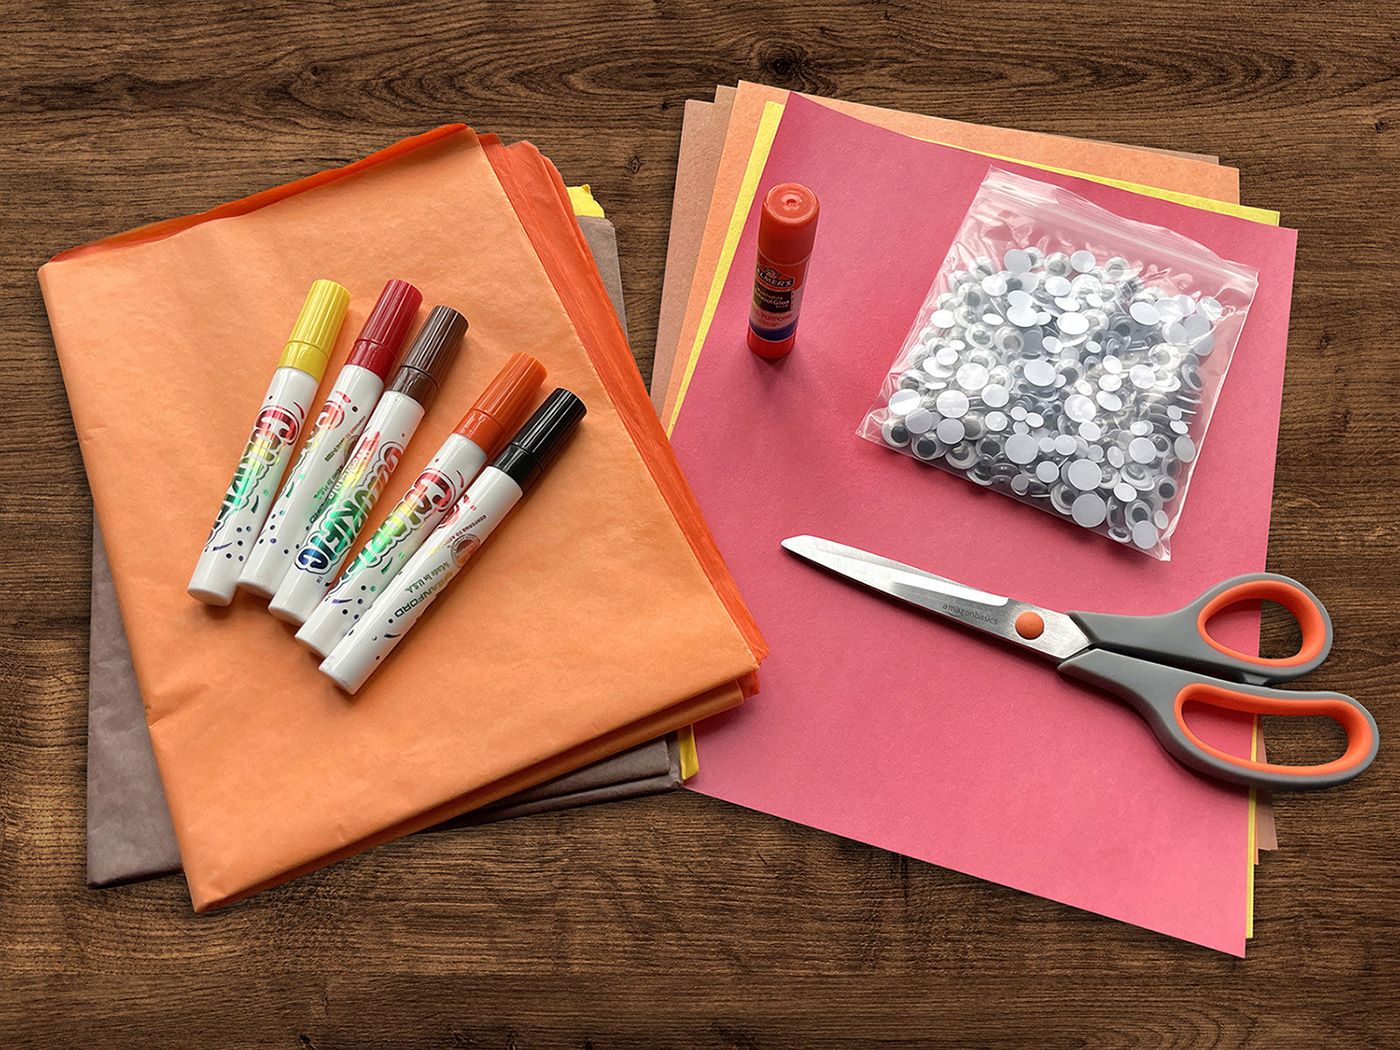
Materials You'll Need:
Construction paper in cozy fall shades (like brown, orange, red, and yellow)
Googly eyes
Tissue paper in warm, autumn hues
Glue
Scotch Tape
Safety scissors
Markers or crayons
Pencil
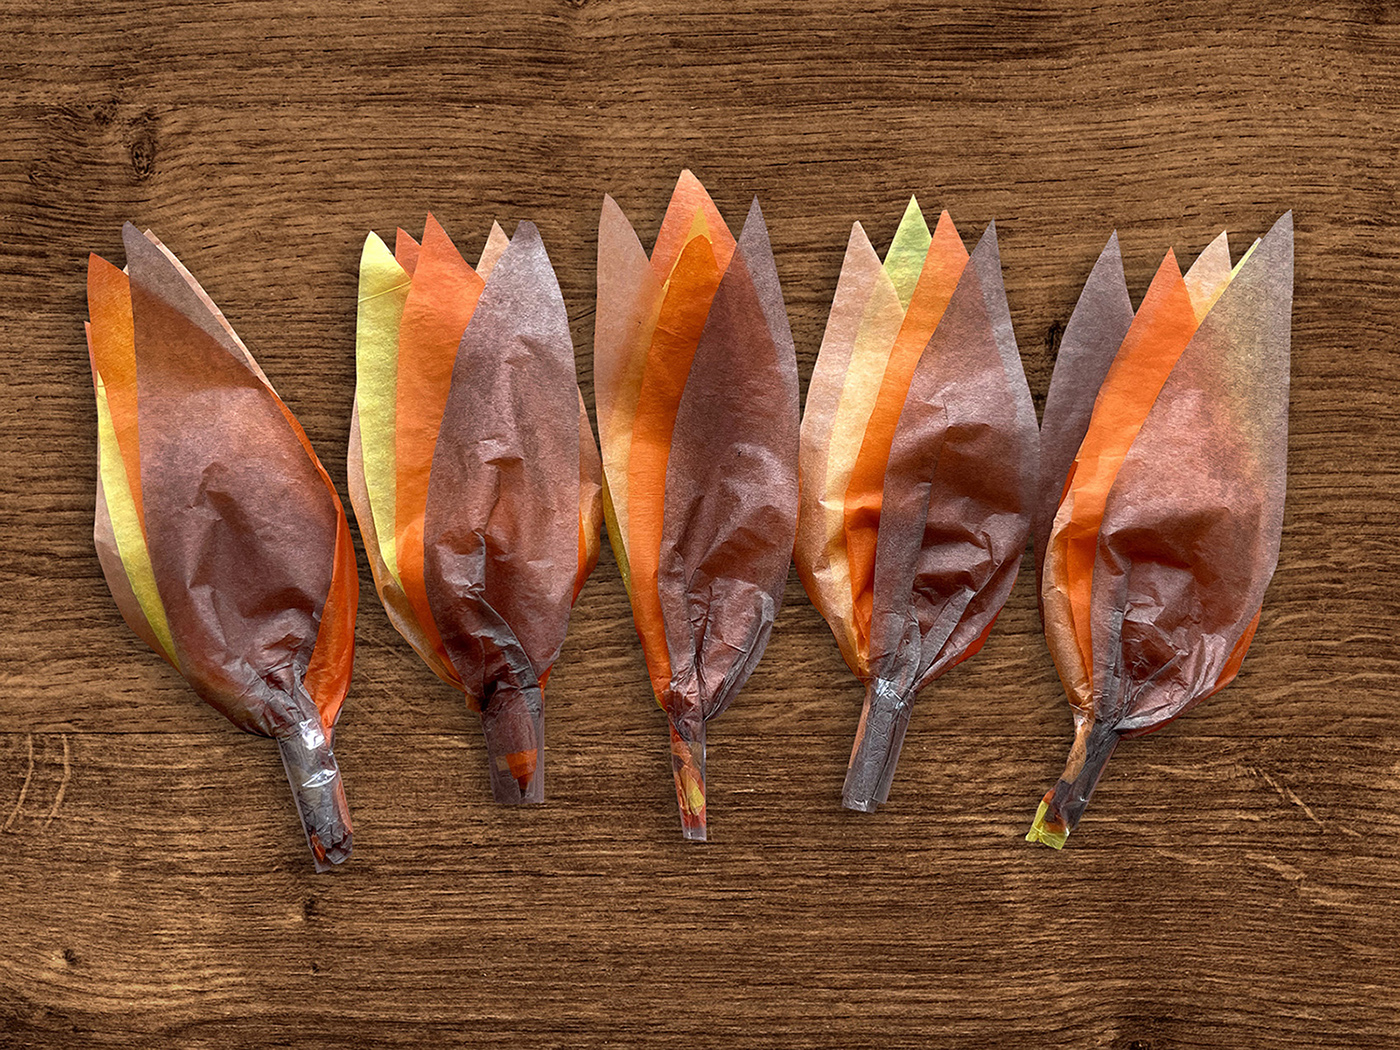
Step 1: Feather Fun
1. First, let's snip out feathers from the colorful tissue paper. Think red, orange, and yellow—all those warm autumn colors.
2. Group around 4-6 feathers together and tie them up at the bottom with a rubber band or some string to make a feather bundle. Scotch Tape also works very well.
3. Repeat the steps until you have a few bundles.
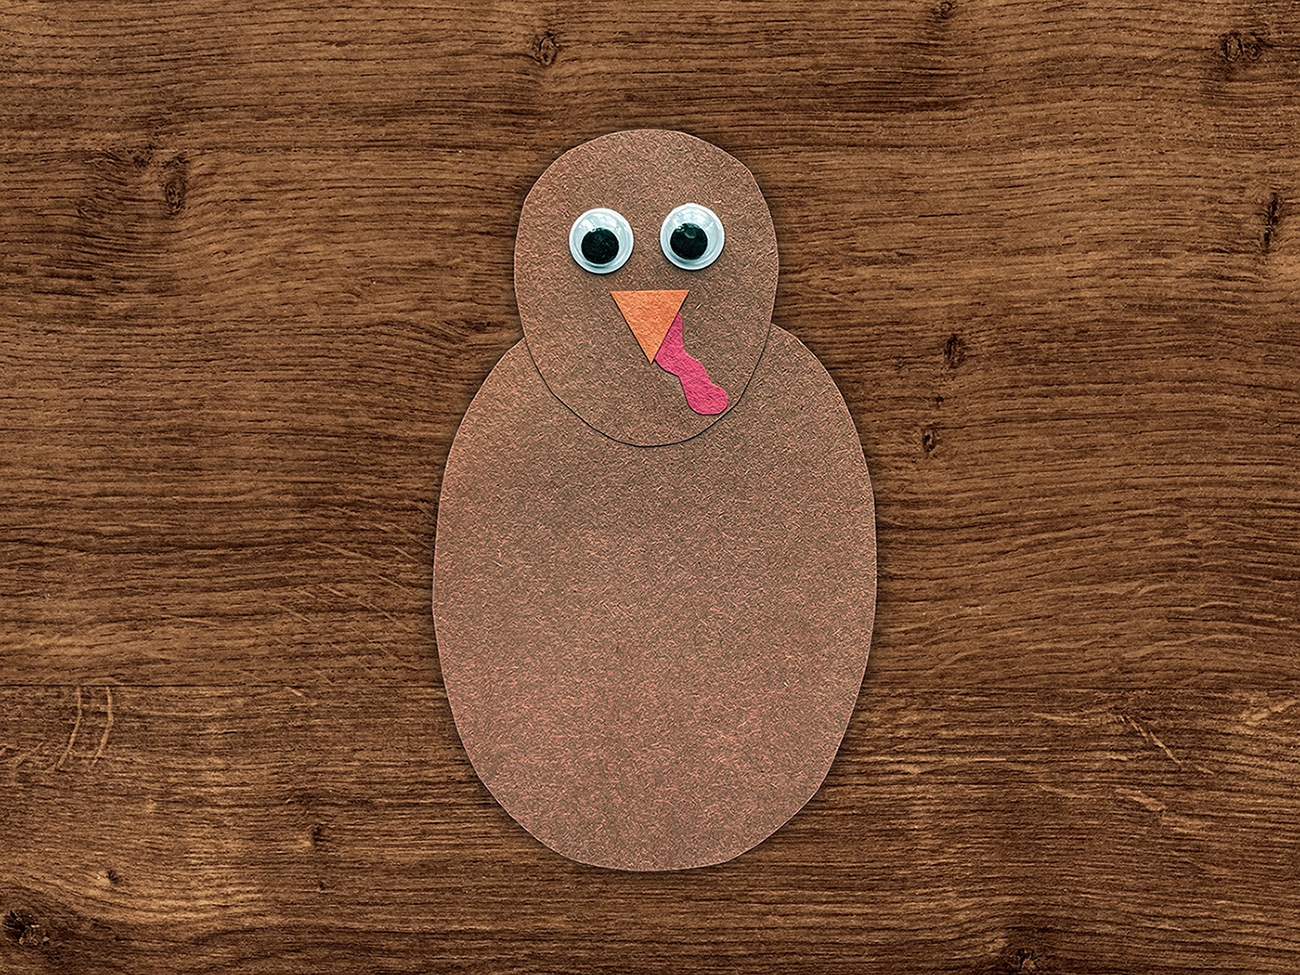
Step 2: Turkey Time!
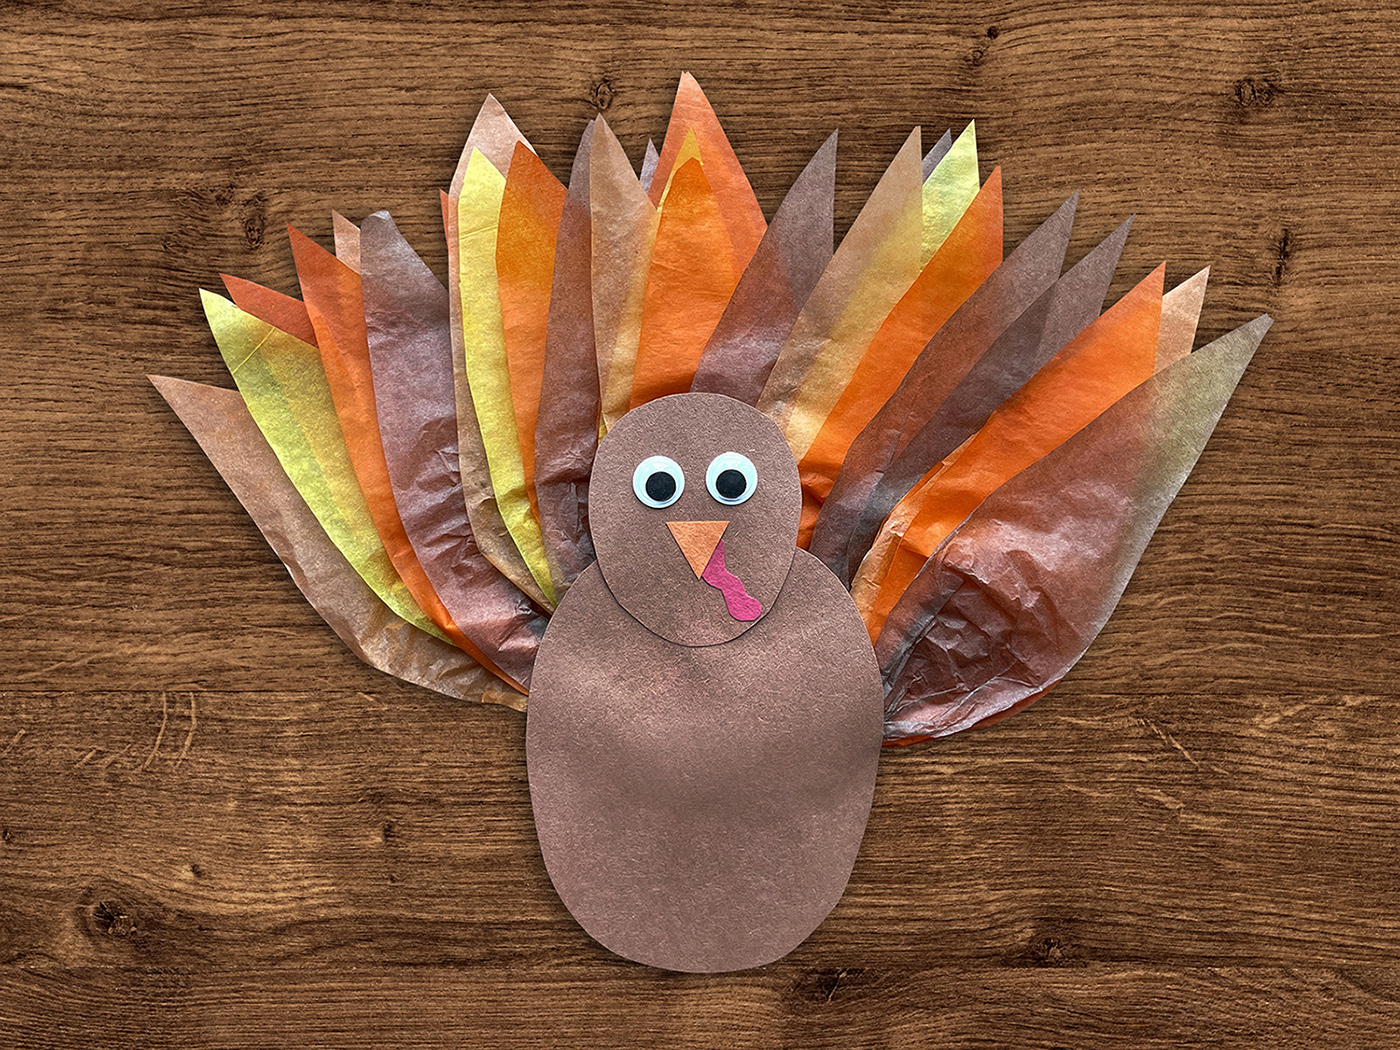
1. Grab a piece of brown construction paper and cut out a nice, plump oval shape for your turkey's body.
2. Cut out a little red wattle and a tiny orange beak.
3. For the head, cut out a smaller oval shape from the same brown paper, and attach it to one end of the bigger oval body.
4. Stick the googly eyes above the beak and wattle—and there you have it, your turkey's face is good to go!
Step 3: Tail Feathers Magic
1. Now, glue your feather bundles to the back of the turkey body, fanning them out. Your turkey's tail is going to look absolutely splendid!
Step 4: Let's Get Creative
Time to let your imagination run wild! Use markers or crayons to give your turkey its own unique style. Add feet, wings, or even a pilgrim hat—let your creativity soar!
Step 5: Share and Be Thankful
When everyone's turkeys are ready, it's time to share and express gratitude. You can use this cute Thanksgiving crown worksheet to get your students into the Thanksgiving spirit. Have your little artists color and cut out the crown and write something they're thankful for on it. They can wear it proudly while showing off their feathered friend.
Optional: Templates for the Young Ones
For the younger crafters, templates can be a lifesaver! Pre-cut the feathers and glue them on an already-drawn turkey body to make the craft a breeze for them. You can find a great one here.
Teacher Tips:
Keep a close eye on scissors and glue for safety.
Encourage your students to let their creativity shine—turkeys can be as unique as they are!
Have a chat about the Thanksgiving tradition and why expressing gratitude is so important this time of year.
Creating paper turkeys in November is not only a super memorable experience but also a great way to teach your students about gratitude and togetherness during Thanksgiving. Have a great time crafting and giving thanks!