
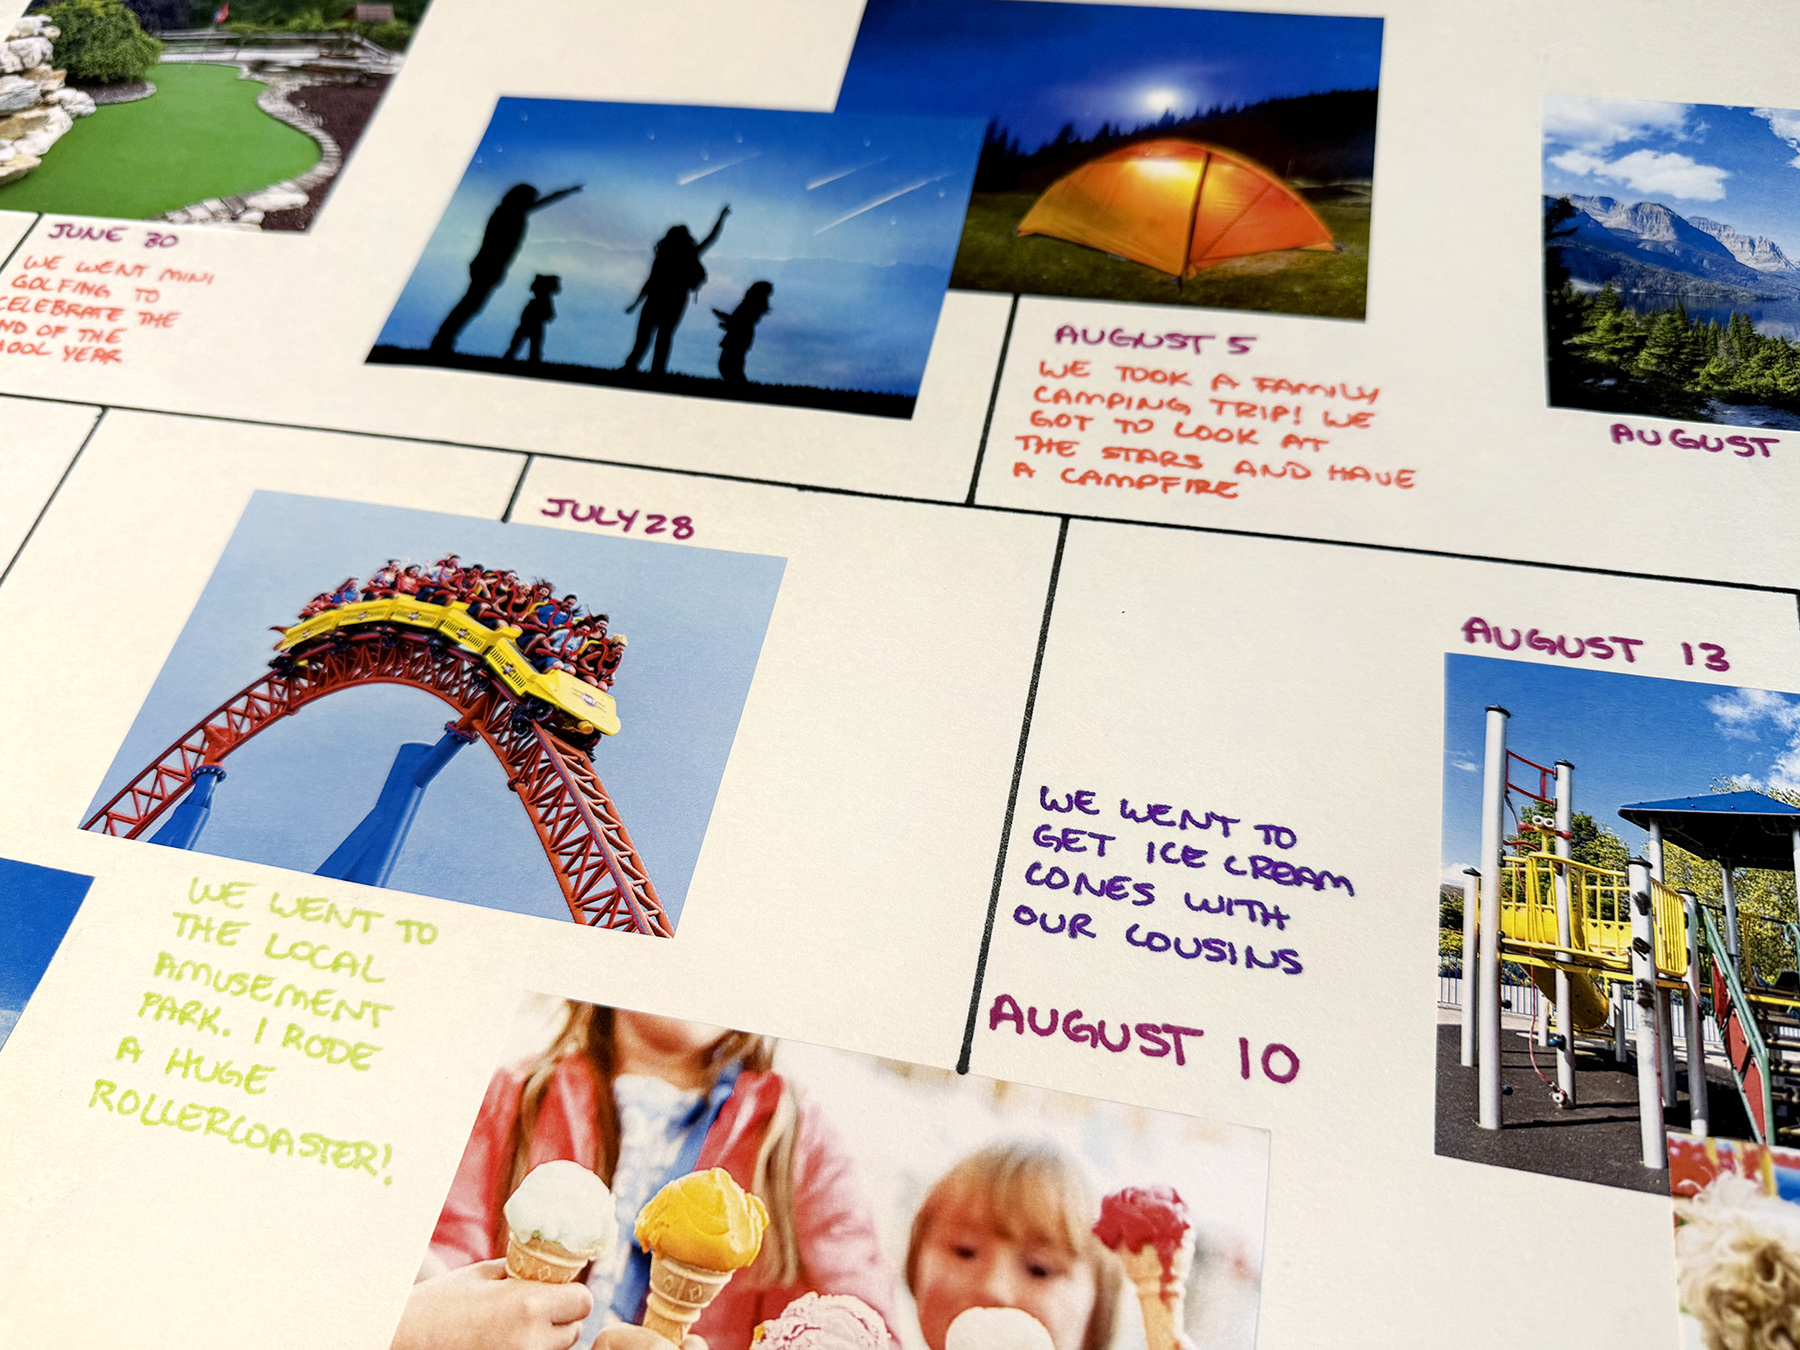
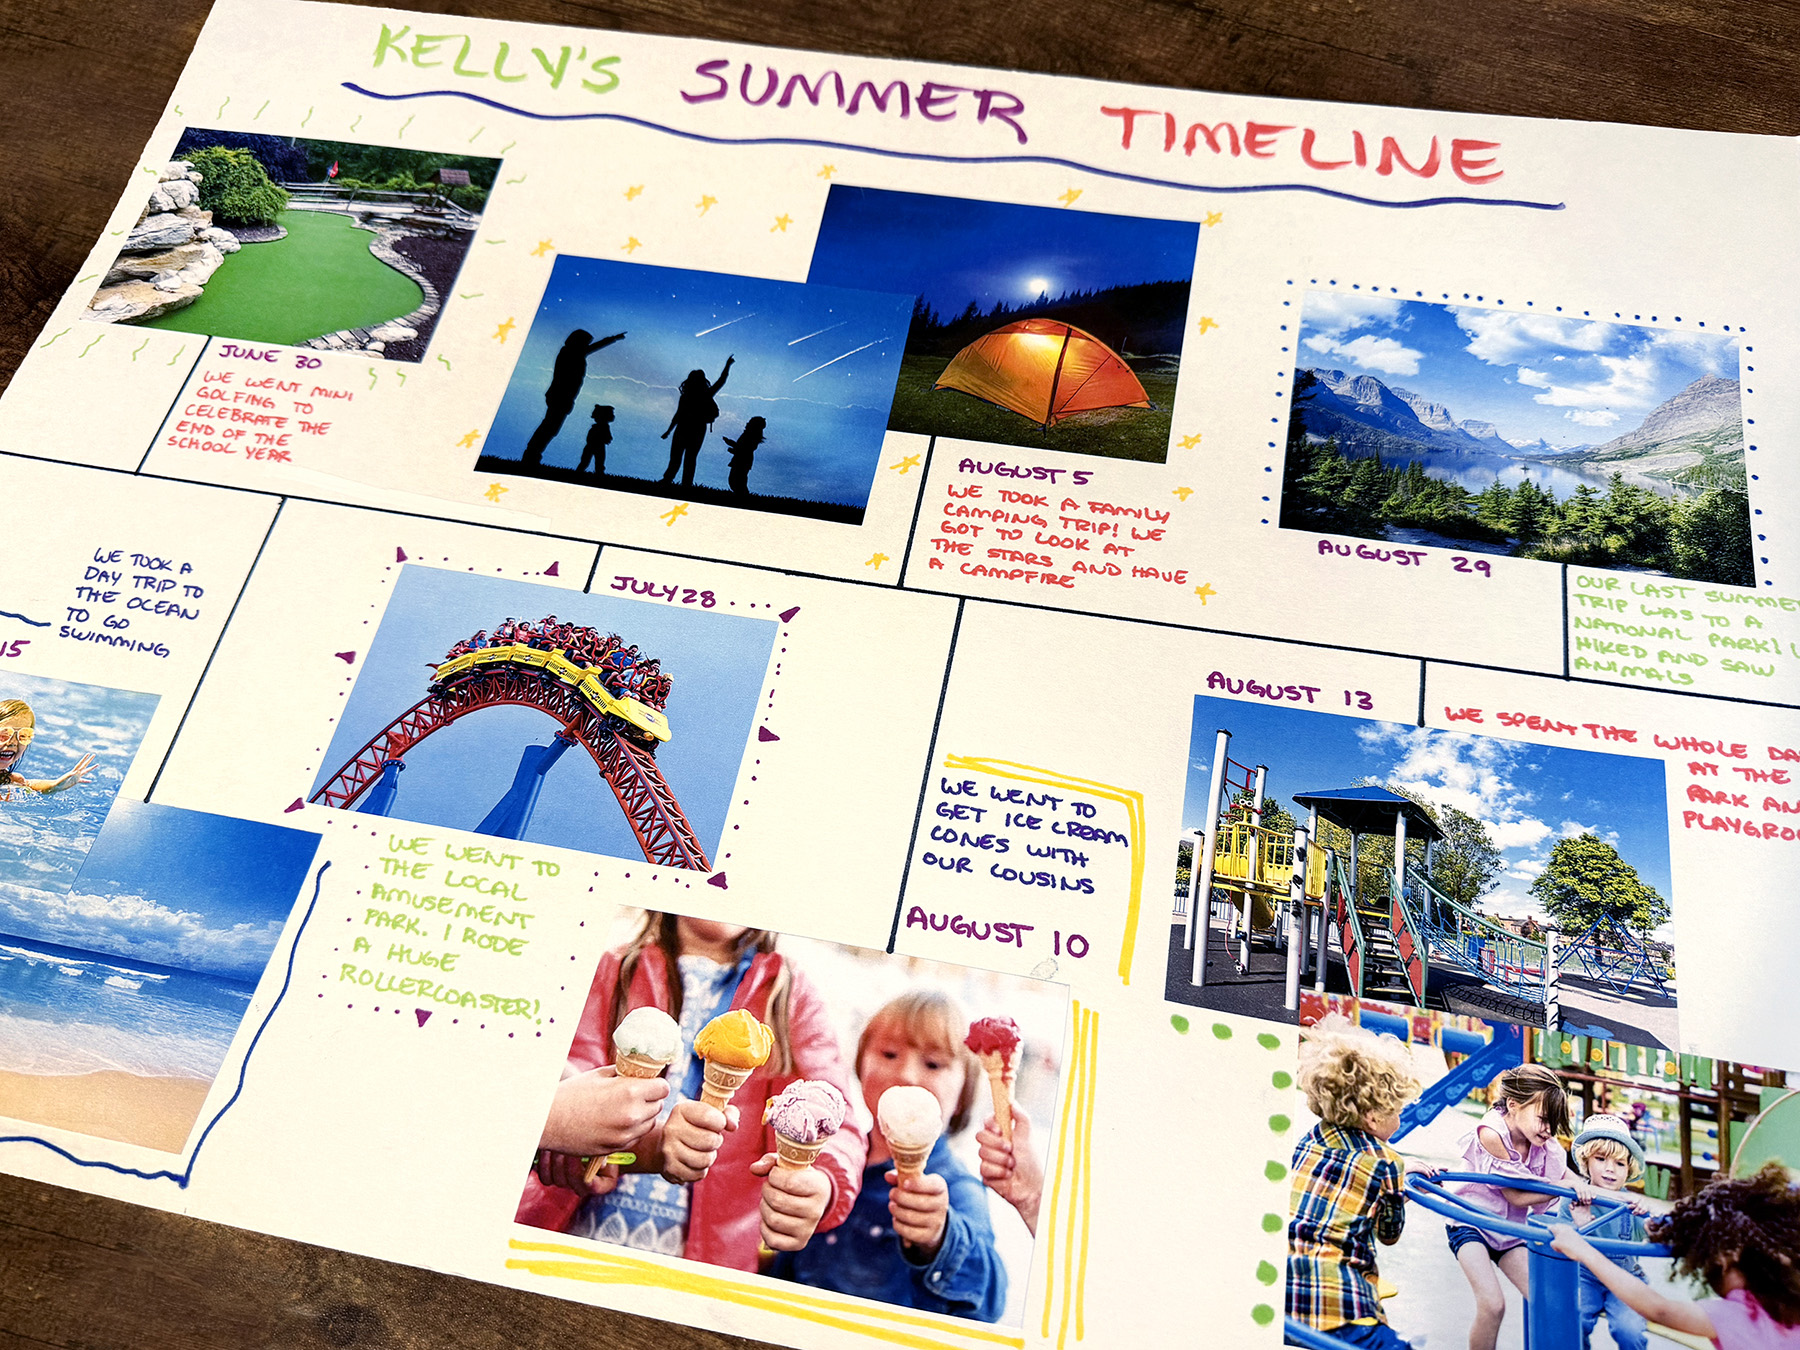
Those fun summer days sure can fly! This is a perfect activity to document your summertime memories. Parents, help your children create a timeline throughout the summer to remember fun times together. Teachers, you may choose to assign this as a home project during the first few weeks of school as a way to get to know your students.
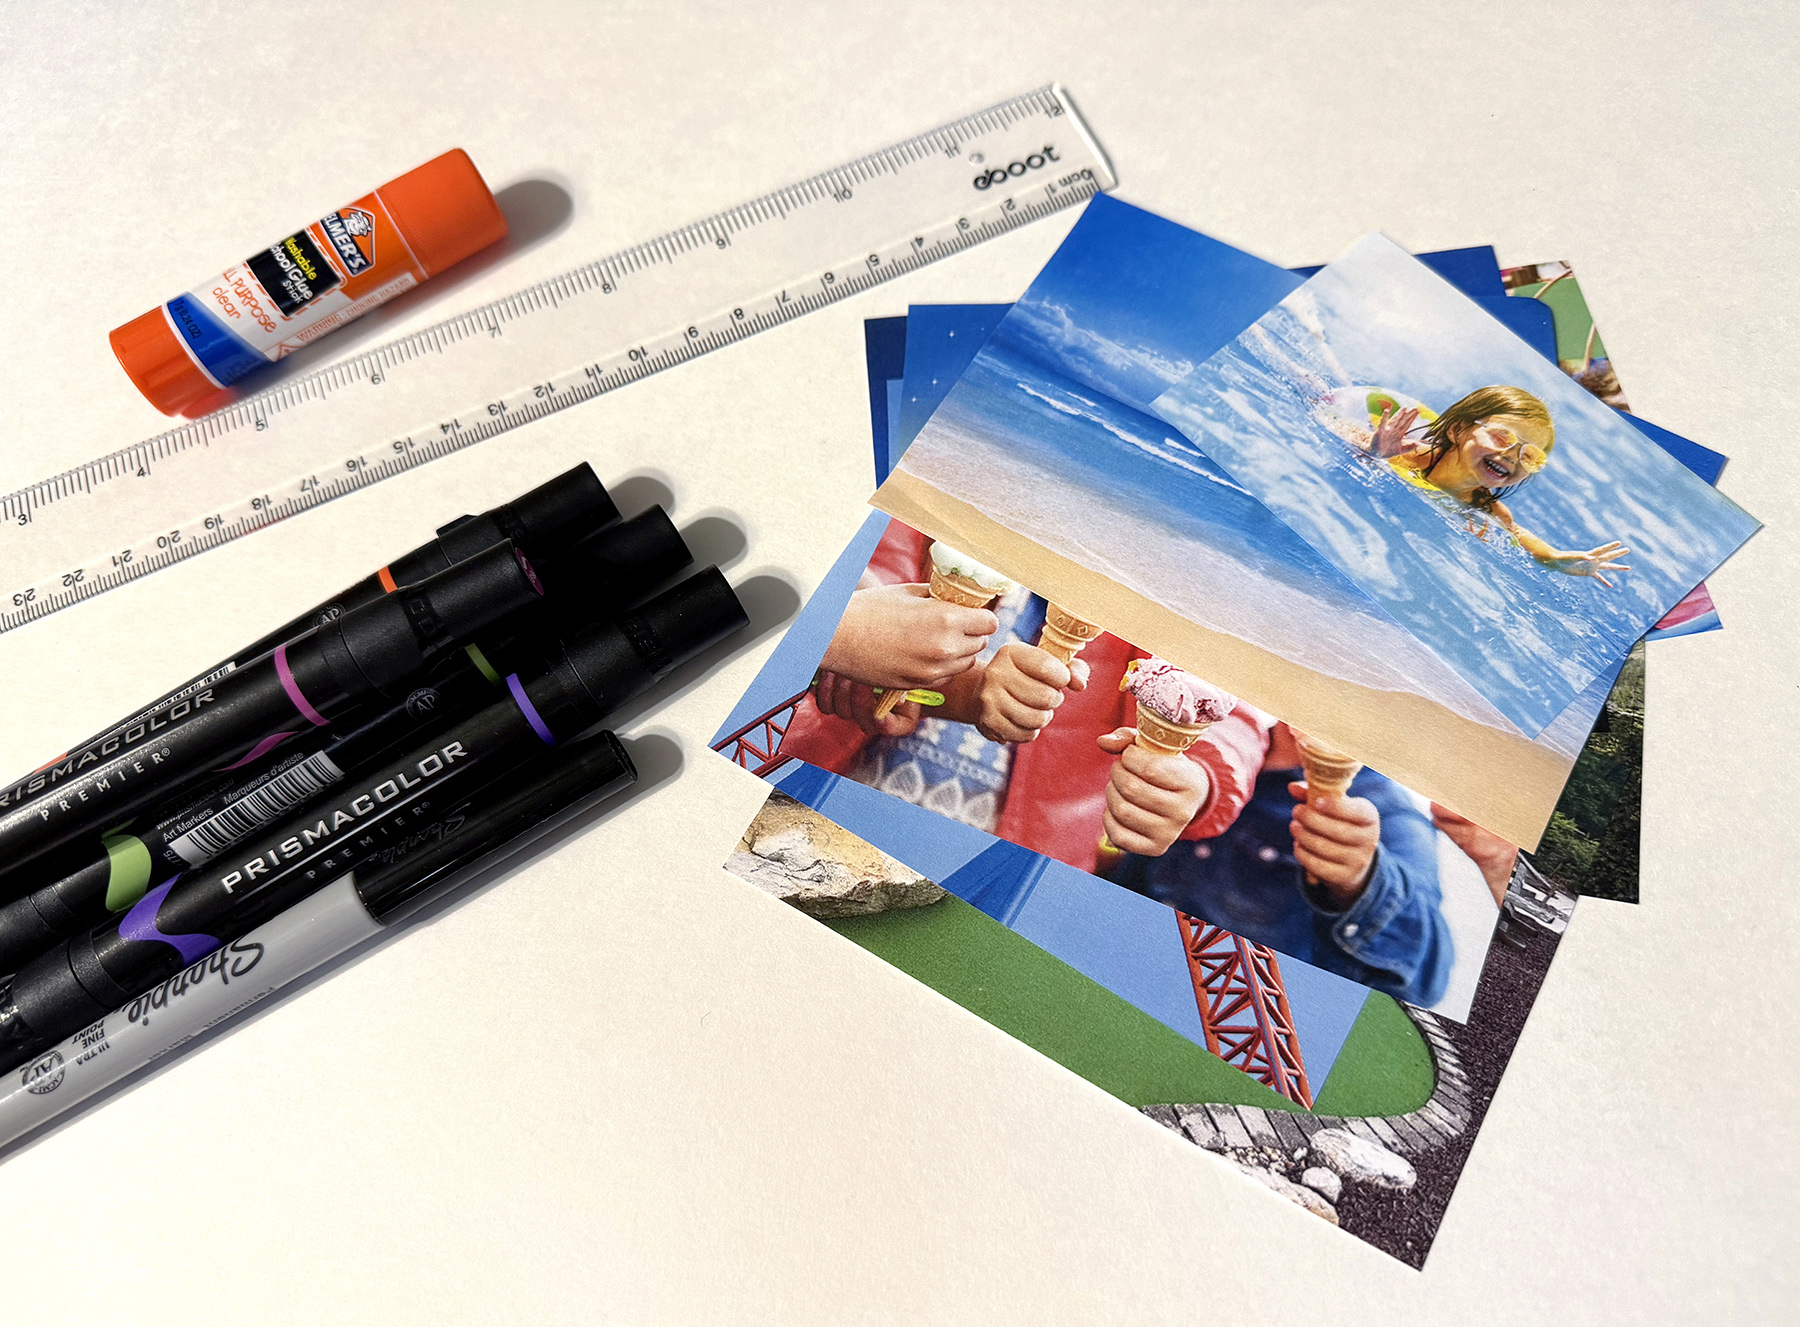
Materials:
large piece of construction paper
markers
ruler
glue
scissors
printed pictures of summer memories or clippings from magazines for pictures
stickers
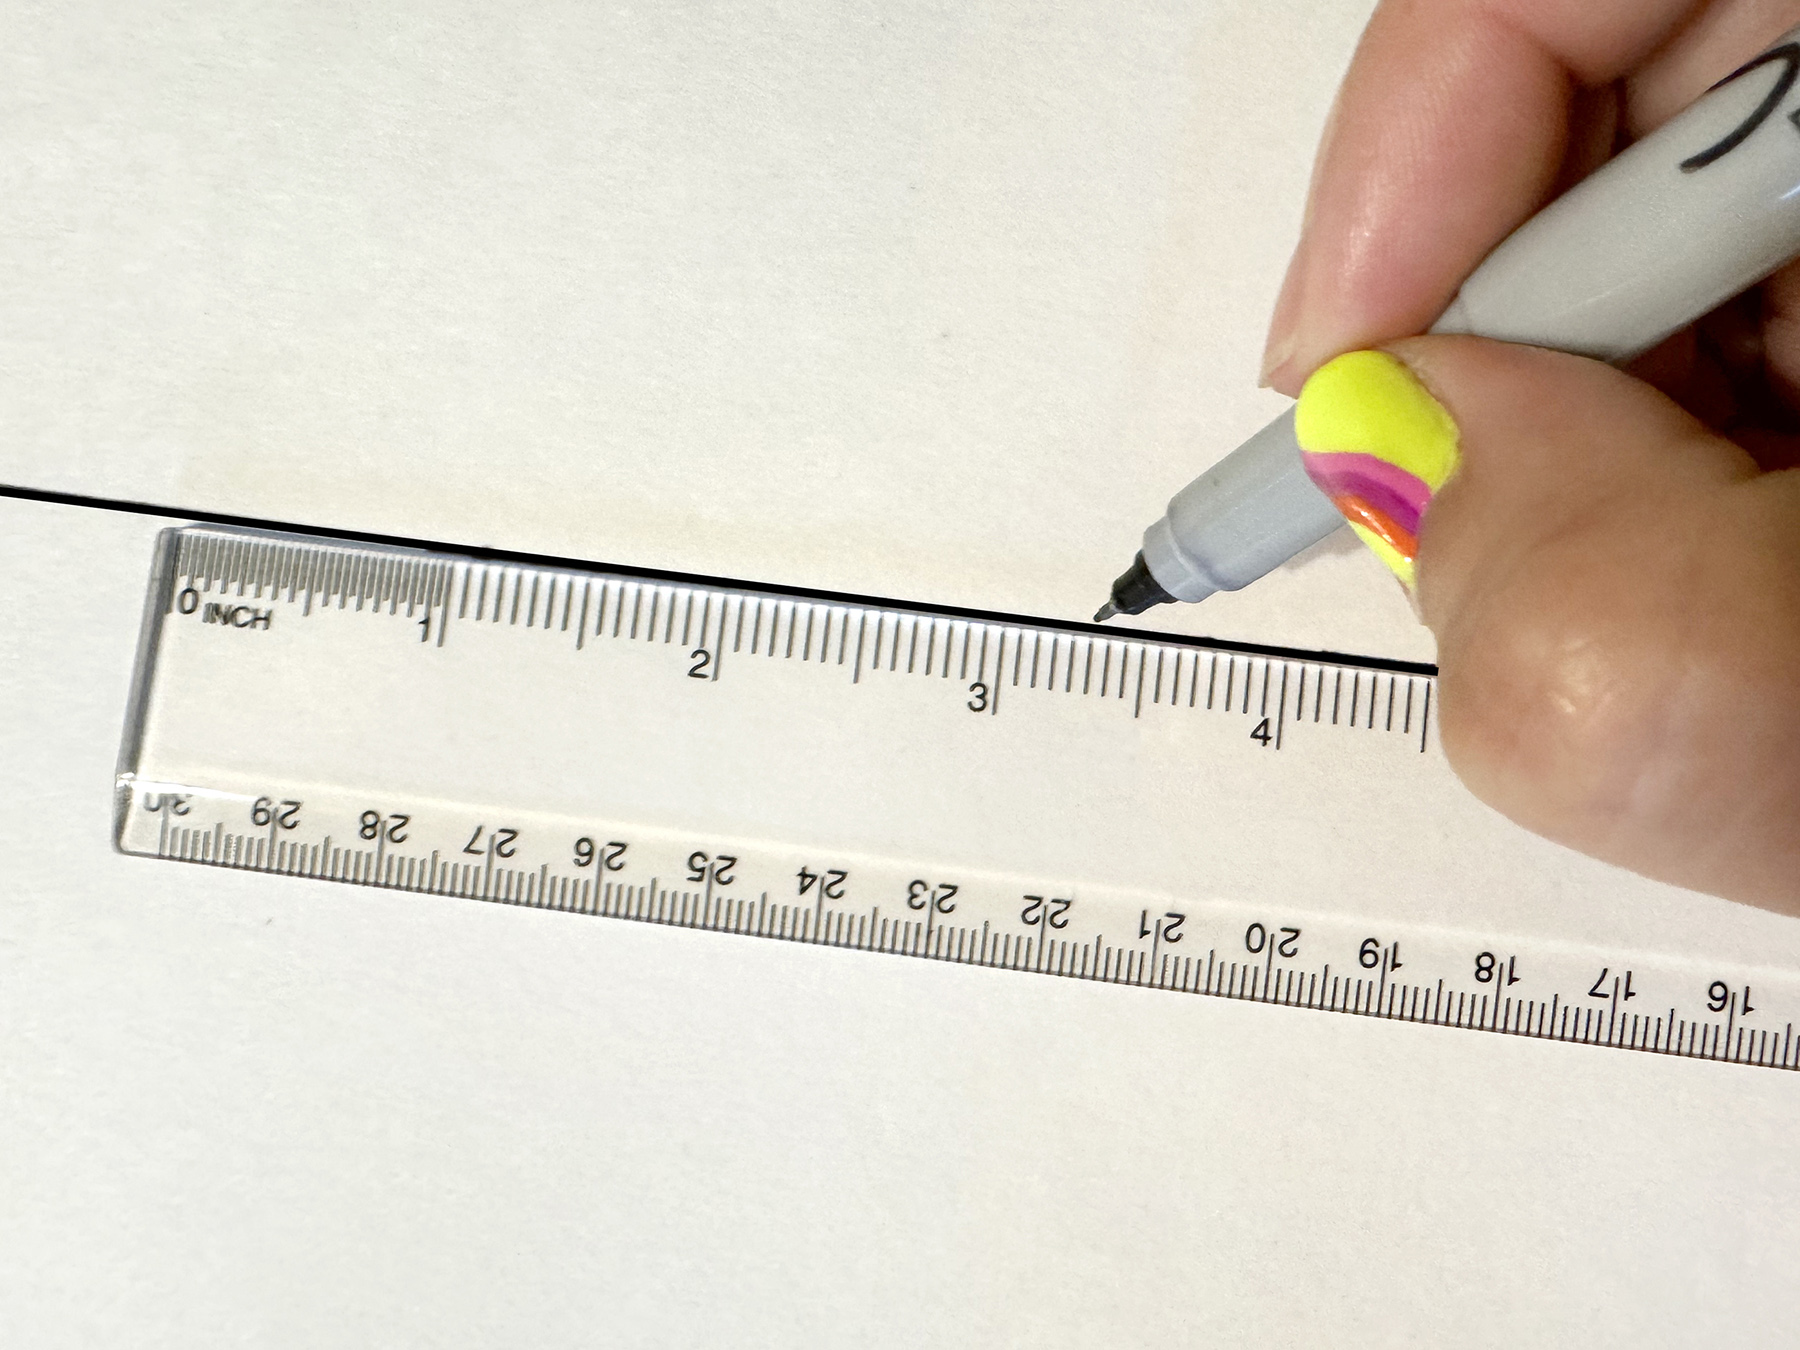
Step 1: Prepare the Timeline
Lay the large piece of construction paper horizontally in front of you. Use the ruler and a marker to draw a straight line through the middle of the paper.
Step 2: Choose the Events
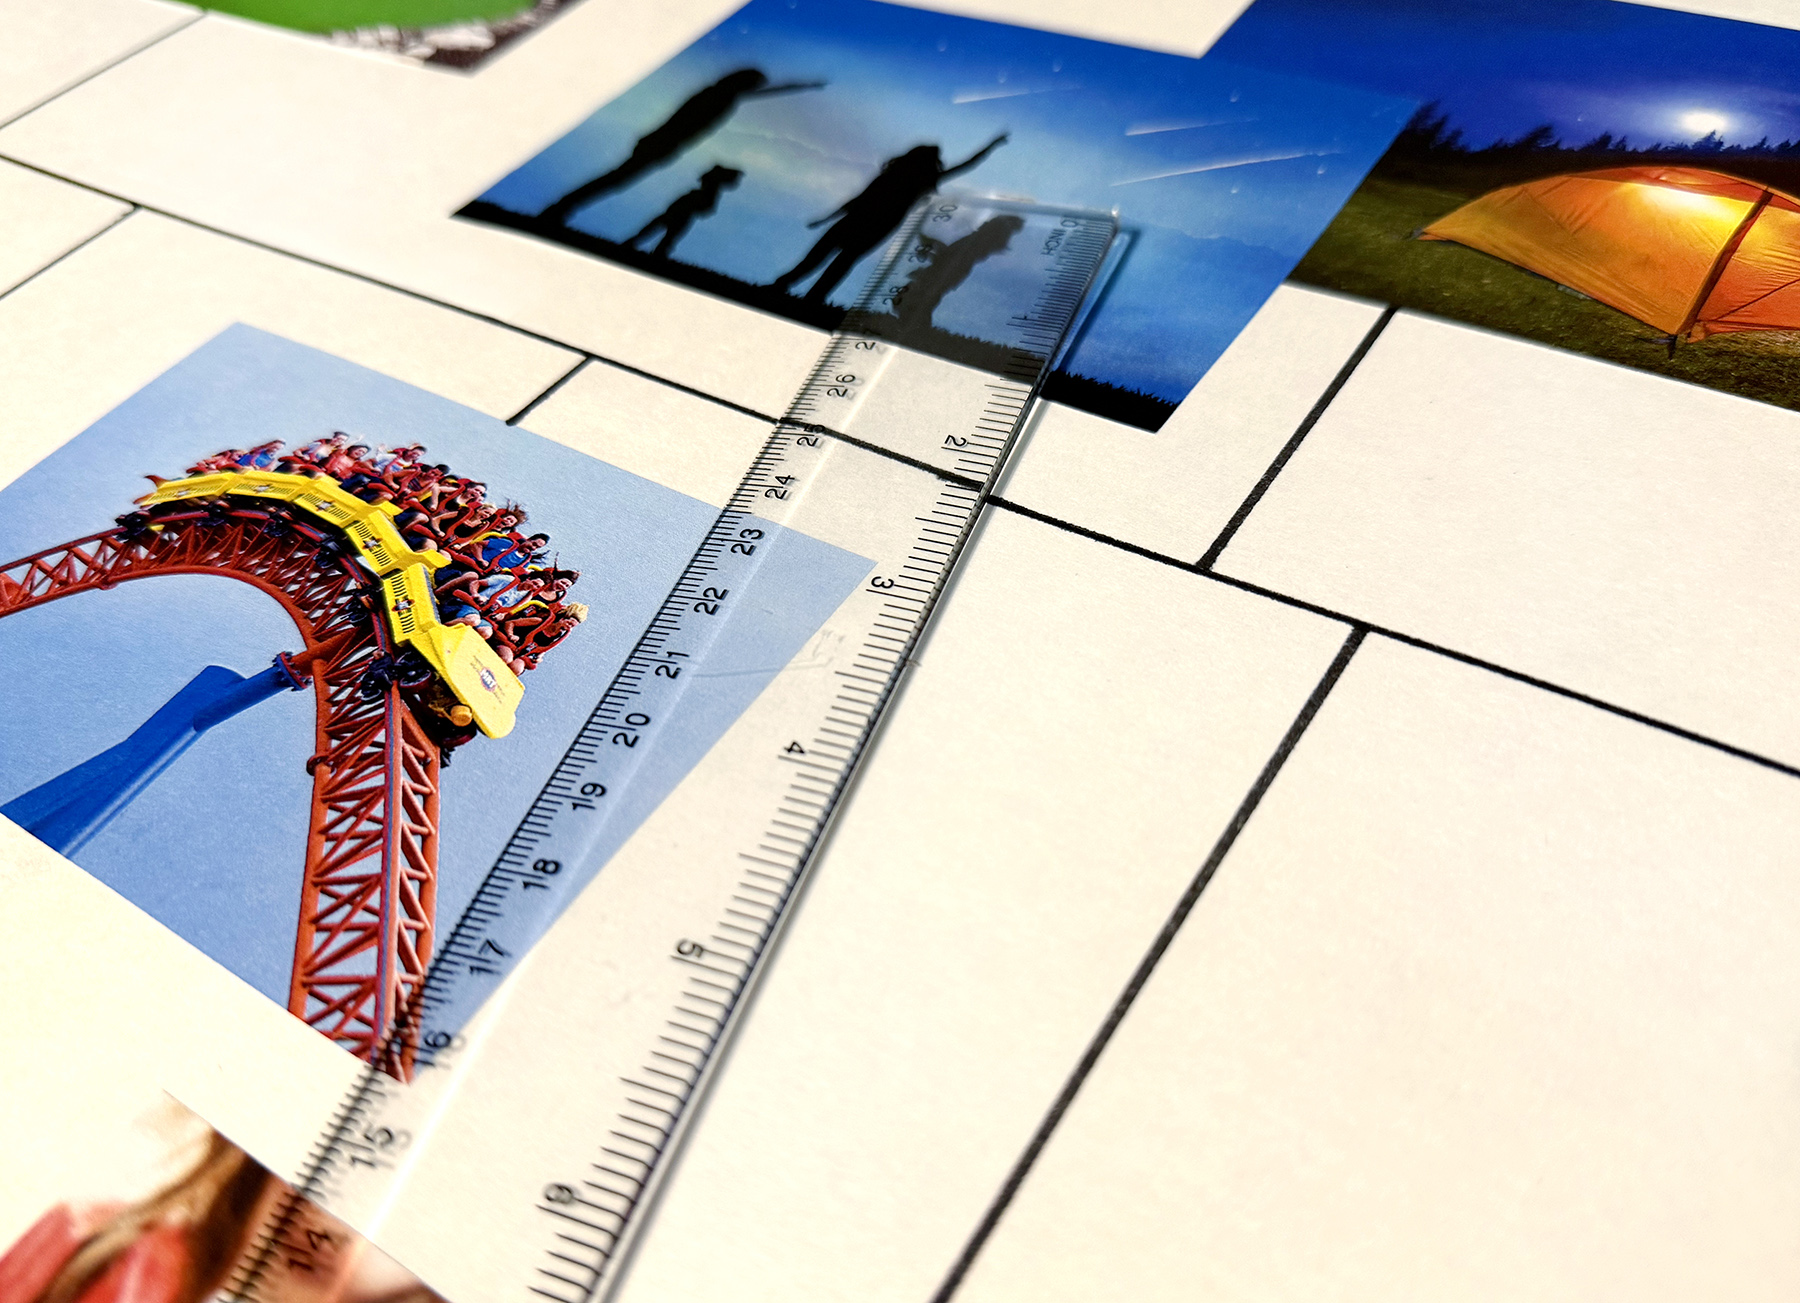
Next, decide how many different summer events you want to include on the timeline. You may choose to highlight fun family trips, events at a summer camp, or even small memories like getting ice cream from the ice cream truck!
Once you have decided the number of events, draw short lines perpendicular to the horizontal line. For example, if you want to include 6 events, draw 6 perpendicular lines. Remember to space the lines evenly.
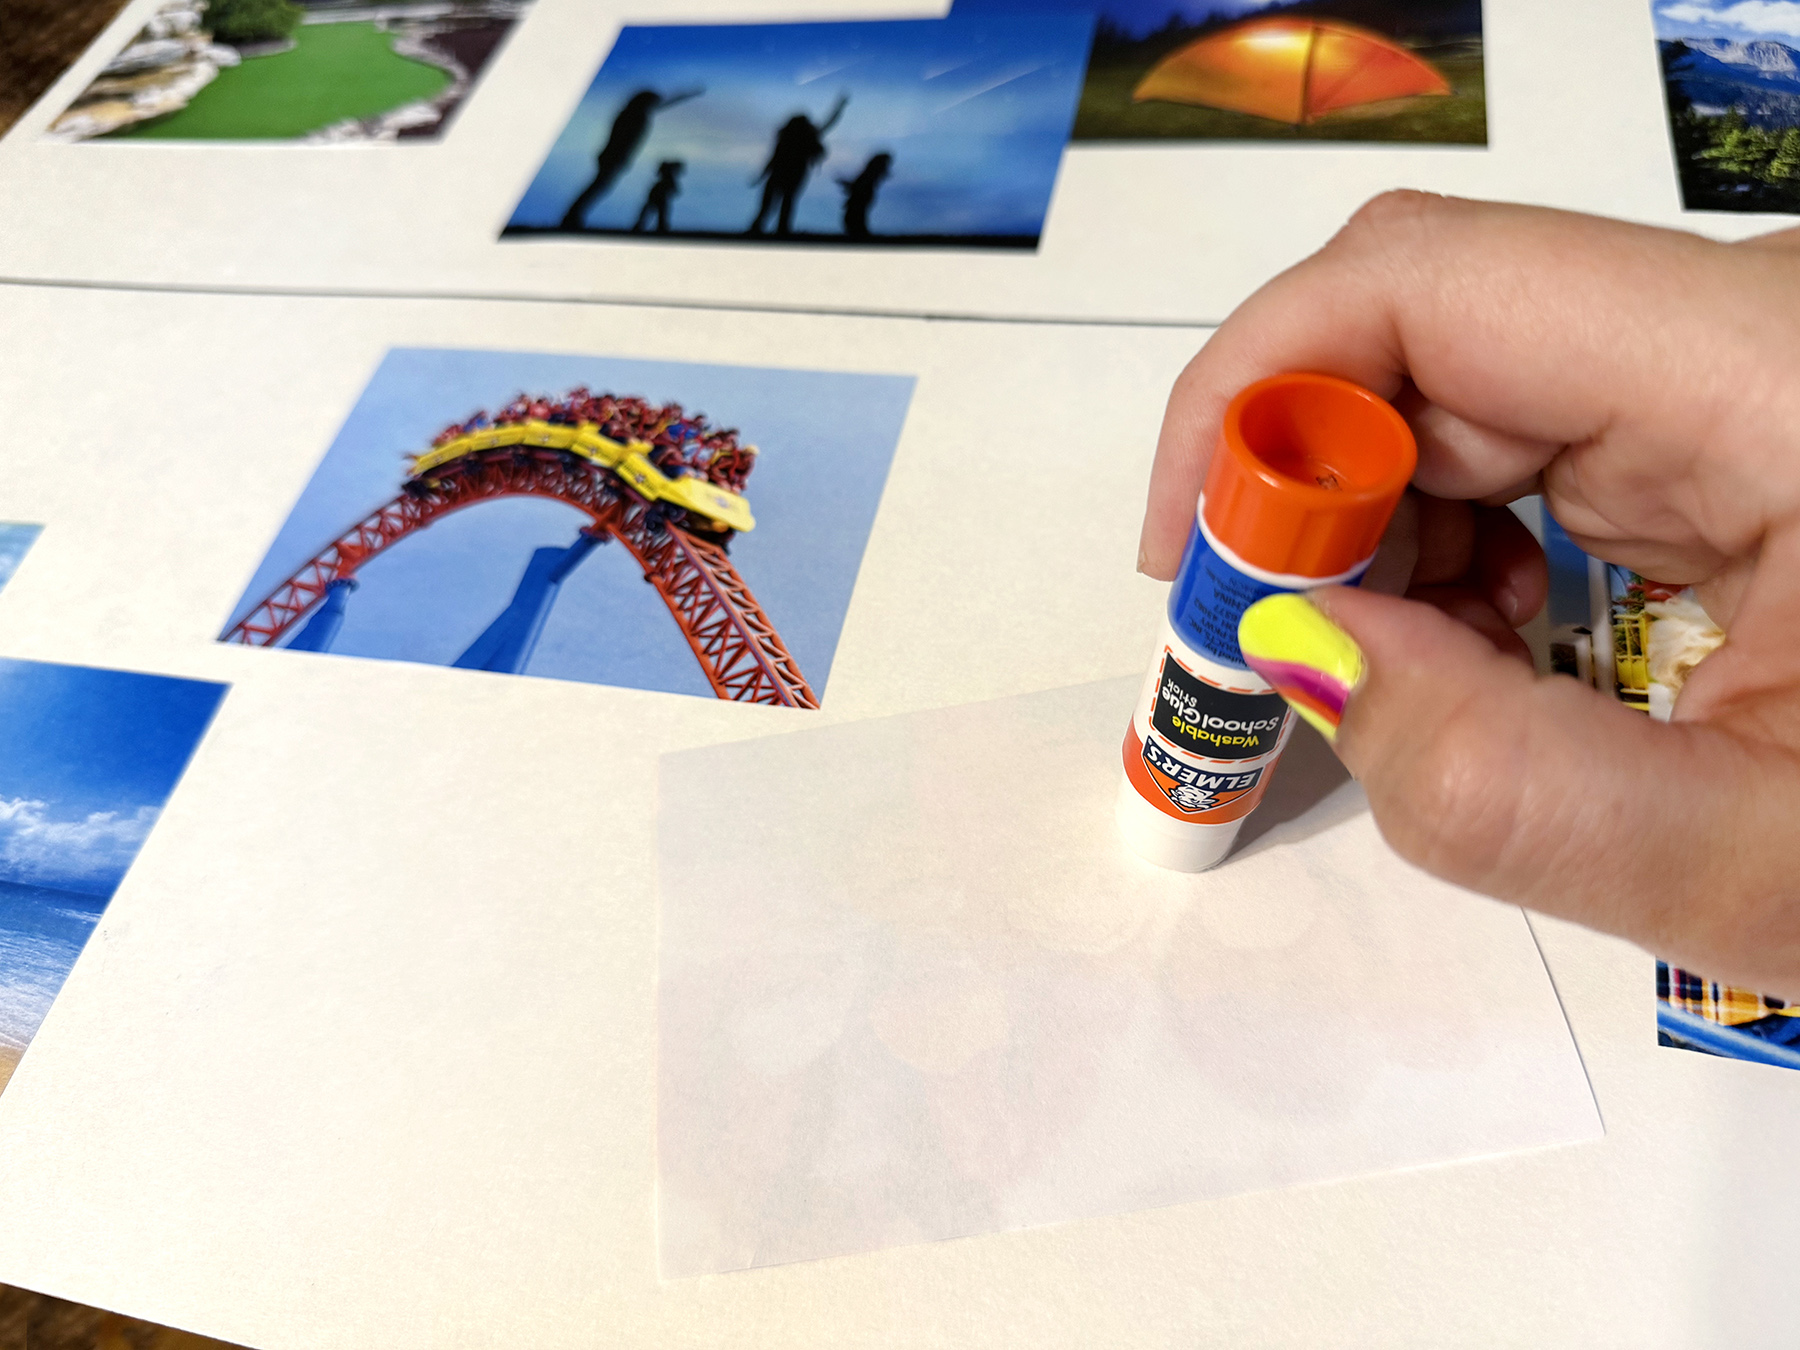
Step 3: Create the Timeline
This is the exciting part! Write the title of the event and the dates in order on your timeline. Cut out and glue pictures to go with each event or use markers to draw pictures of the event. You can even write a little bit about each event.
Don’t forget to include a title at the top of your timeline!
Step 4: Decorate!
Once you’ve created the timeline, go back and decorate the poster using markers, stickers, glitter, or whatever else you have on hand! Get creative!
Step 5: Discuss
This activity is a perfect way to practice retelling events and placing events in order. Work your way along the timeline and encourage your kids to talk about each event.
You can prompt kids to retell events by asking the following questions:
When was it?
Where was it?
Who was there?
What did you do?
How did you feel?
This is also a great way for younger students to practice using transition words such as first, second, next, then, and last. You can use the model below to guide kids to retell events.
“First I/we________________. Then I/we_________________. Next ___________. Finally____________. I/we had a great time!”
Try out this activity at home with your kids or at the beginning of the school year with your students. It’s sure to be a hit! Kids will love retelling their summer vacation memories!
Click the link below to download timeline worksheets from Super Teacher Worksheets.


